


A Simple Method for Cleaning Your Garbage Cupboard
Garbage cupboards, garbage cabinets, pull-out garbage cans – call them what you want, but they’re lovely. (You know, as lovely as garbage can be.) They hide the mess, block the stank, and keep your kitchen looking and feeling orderly.
But just because the garbage is hidden inside of the cupboard doesn’t mean it doesn’t make a mess. Yes, even this part of your kitchen needs to be cleaned regularly. We’ve got a simple, six-part method that allows you to clean your garbage cupboard in minutes.
Garbage Cupboard Cleaning Method
Garbage cupboards are fantastic for keeping trash out of sight and out of mind. They also make it easy to keep multiple garbage bins for separating trash and recycling. The only annoying thing is guests always have to ask where your trash can is. (But, hey, it’s a small price to pay.)
When you buy through our links, we may earn a small commission.
Here’s our favorite method for cleaning the garbage cupboard:
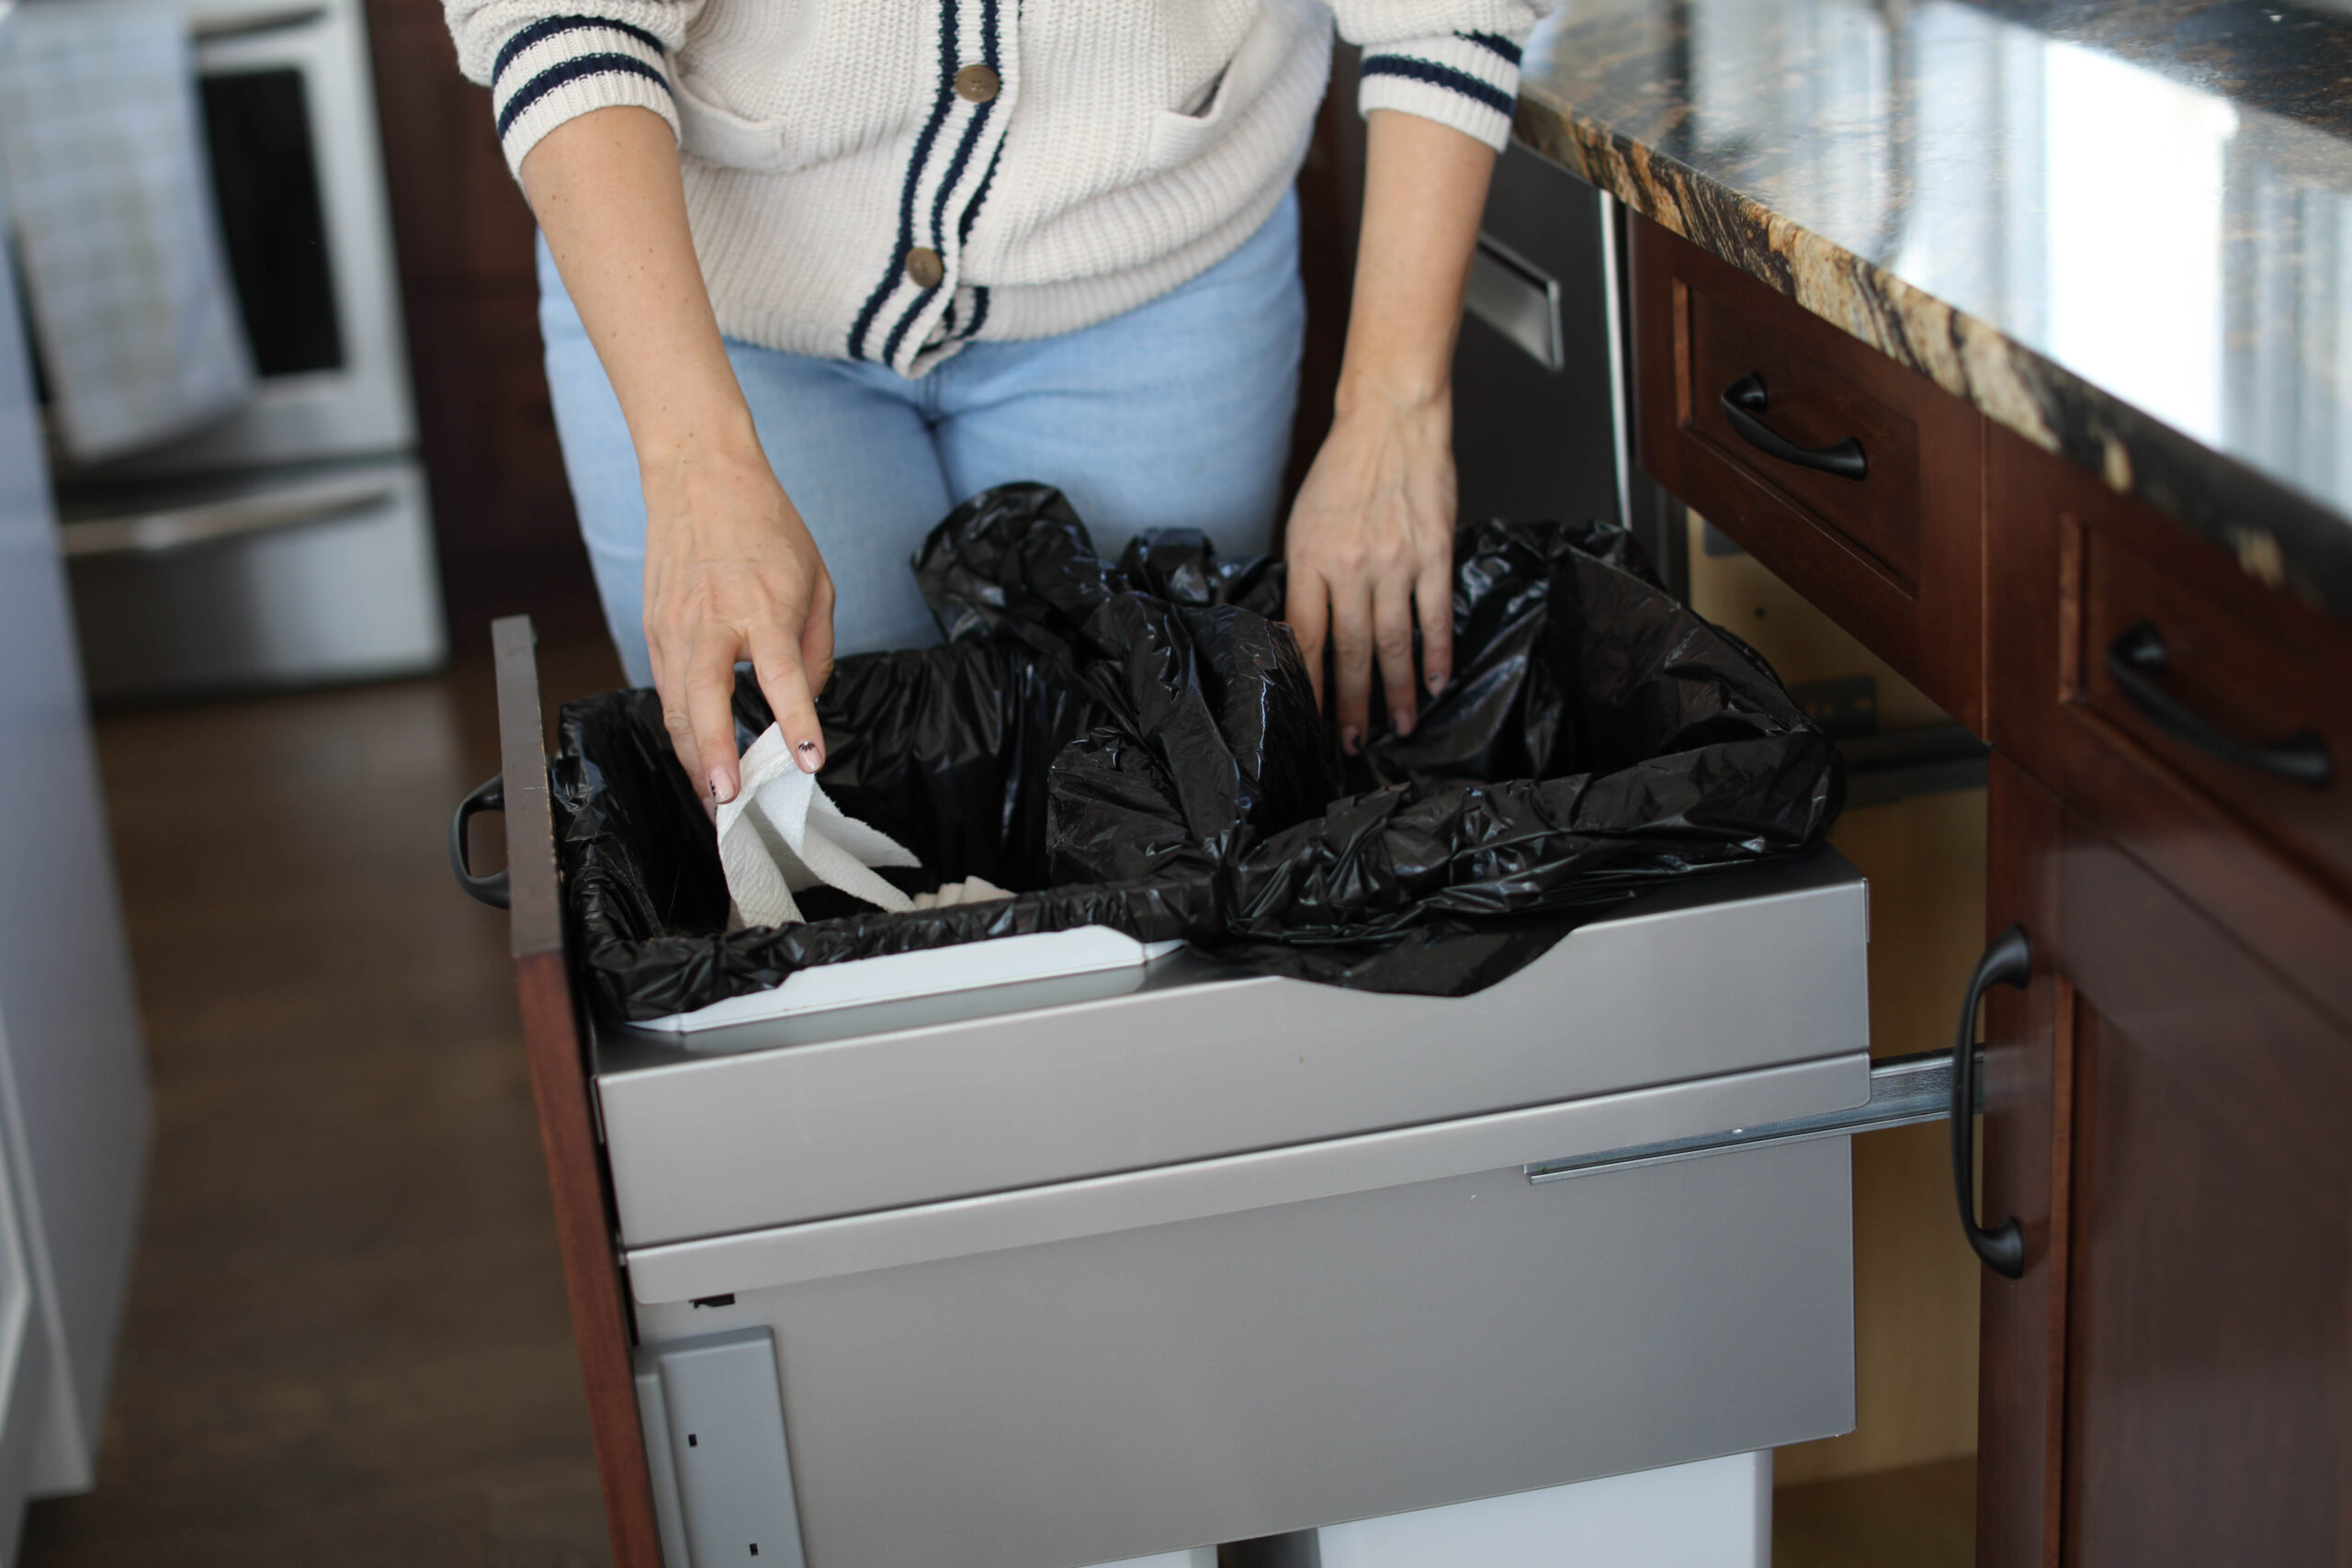
Step 1: Take Out the Trash
Anytime we clean something here at House Work, we start with taking everything out. If you’re cleaning your refrigerator, you start by taking every jar and jug out and placing them on the counter. If you’re cleaning out a drawer, you remove everything. And if you’re cleaning a garbage cupboard, you take out the trash. (Or you scream upstairs and tell your spouse to do it.)
Taking out the trash eliminates most of the nastiness and smell, which means cleaning doesn’t have to be as gross. Congrats, you’re done with step one!
Step 2: Remove the Trash Can
With the actual trash bag removed, sealed, and delivered to the outdoor trash bin, it’s time to remove everything else.
If you notice any loose pieces of large trash (like an envelope that slipped between the cracks or a stray banana peel that’s been slowly turning to mush in the back of the cupboard), now’s the time to remove them. You don’t have to worry about getting every crumb right now. We’ll do that in the next step. Right now, you just want to get rid of anything that’s so large, you can’t wipe it up with a cloth.
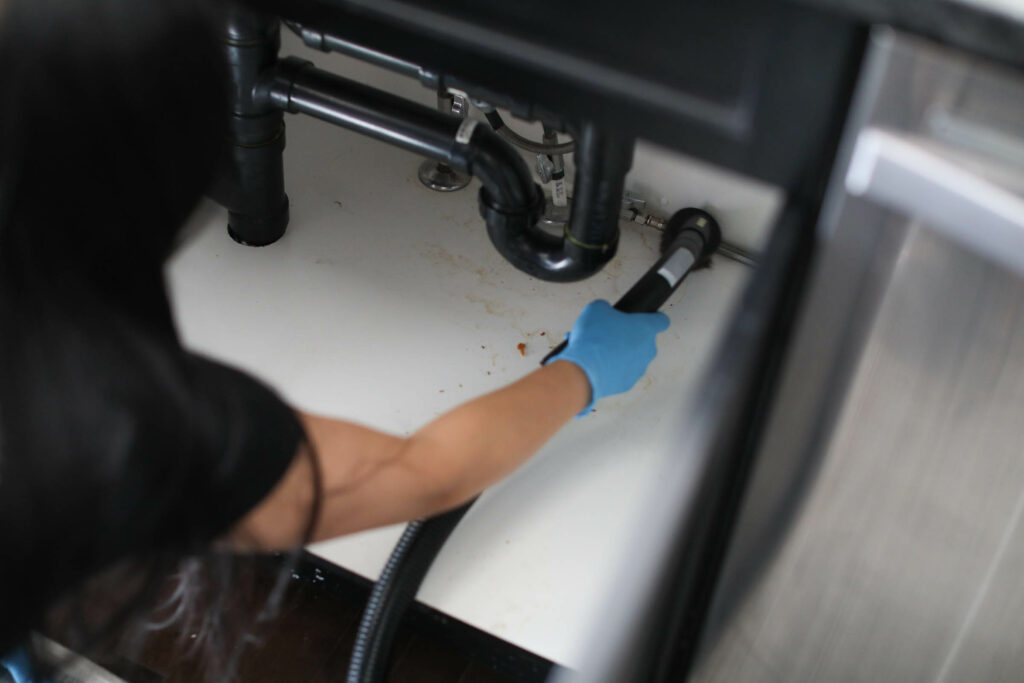
Step 3: Vacuum Out the Cupboard
Grab your vacuum cleaner (Canada) (USA) and horsehair brush attachment (Canada) (USA) and vacuum every nook and cranny of the cupboard. You want to remove any crumbs that might be lurking around the edges or any of the crevices of the cabinet.
For the cleanest results, start on the perimeter and drag the vacuum attachment along the edge. Apply slight pressure to make sure you’re getting deep into the “seams.” The great thing about using the horsehair brush attachment is that it actually lifts up any dust and grime that’s embedded into these crevices. A standard attachment won’t always dislodge these crumbs.
Step 4: Clean the Interior of the Garbage Cupboard
Okay, now you truly have a clean slate to work with here.
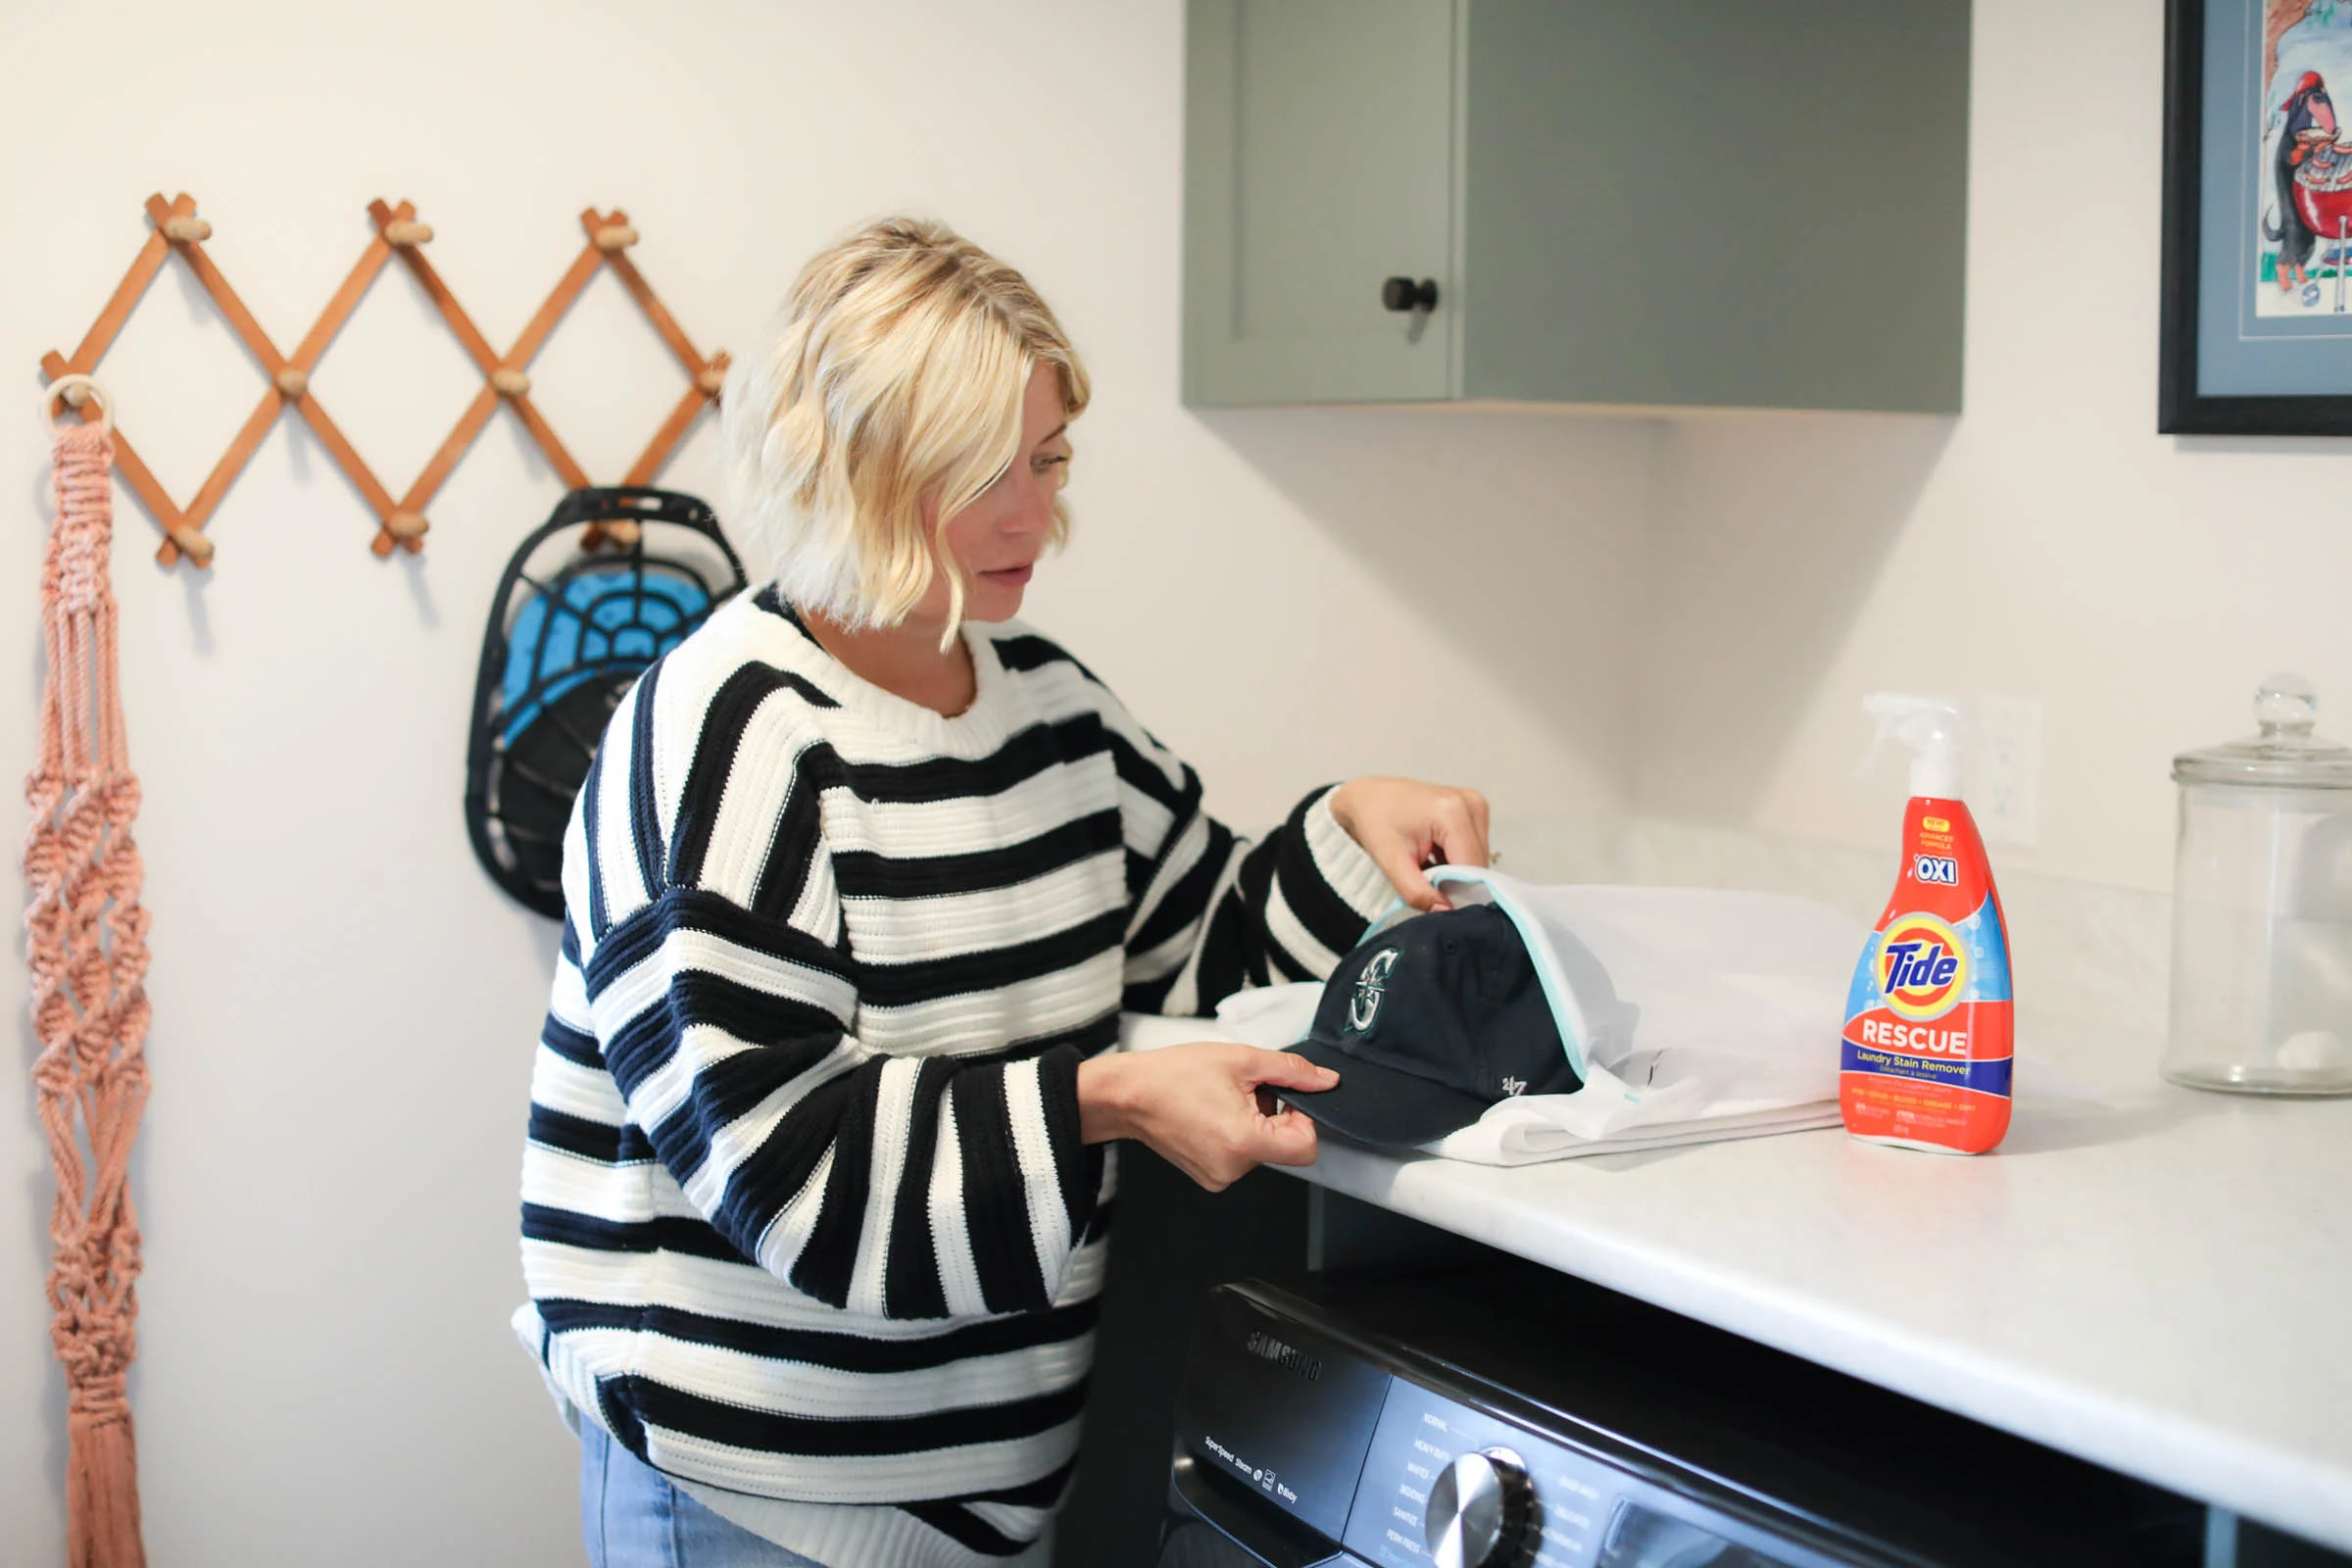
Start with the interior of the garbage cupboard. We recommend using Mr. Clean® here. The multi-surface cleaner is awesome and we use it straight in a spray bottle. It cuts through grease and dirt so works really well inside cupboards. It’s a staple in our caddies.
Because you’ve already removed the garbage bin and used your vacuum attachment to clean up the dust and crumbs, this process is actually pretty straightforward. For the most part, you’re just disinfecting and lifting stains, smudges, and smears.
Spray the cleaner and use a cloth to wipe up any dirt or grime that remained after vacuuming. Mr. Clean® should cut right through any sticky messes or stains that you find. (If you have any shelving or sliders that can be removed, do so. It’s pretty simple and worth it to get in the cracks.)
If the cupboard is really smelly, you can use Clorox® Clean-Up or a mix of hot water, tide and bleach to disinfect and help combat smells. Make sure it is safe for the surfaces inside your cabinets.
Step 5: Clean the Garbage Can
Next up, clean the garbage can itself. This includes both the interior and exterior of the can. For this, use our House Work bleach solution. This will help disinfect and remove any grime.
Mix up a small batch using 4 cups of hot water, 4 teaspoons of bleach, and a ½ teaspoon of powdered Tide®. Use this mixture to wipe down the entire garbage can, then let it air dry.

Before putting your garbage can back make sure the bins and cupboard are fully dry. (If you’re in a hurry and it’s a nice day, placing the bin outside in the sun for a few minutes can speed things up.) We also recommend lining the bottom with a paper towel and always using a strong bag to keep the bin cleaner in the future.

Step 6: Clean the Exterior of the Cupboards
The final step is to clean the exterior of the garbage cupboard. If your garbage cupboard is built into your kitchen cupboards, this is a good time to give all of them a quick clean. For this, we recommend using our Tide recipe above while omitting the bleach.
If your cabinets are greasy, usually near the stove, use Mr.Clean® to cut through the grease. Just make sure you rinse well with warm water and a cloth so that it doesn’t streak. If you have a standalone garbage, make sure you clean all sides of it with our Tide® and bleach recipe (not just the sides that are showing).

For a list of our favorite products, click here.


We're big on Instagram.
Follow @GoCleanCo for seriously satisfying videos and top-secret tips. Don’t be shy, come say hi.