


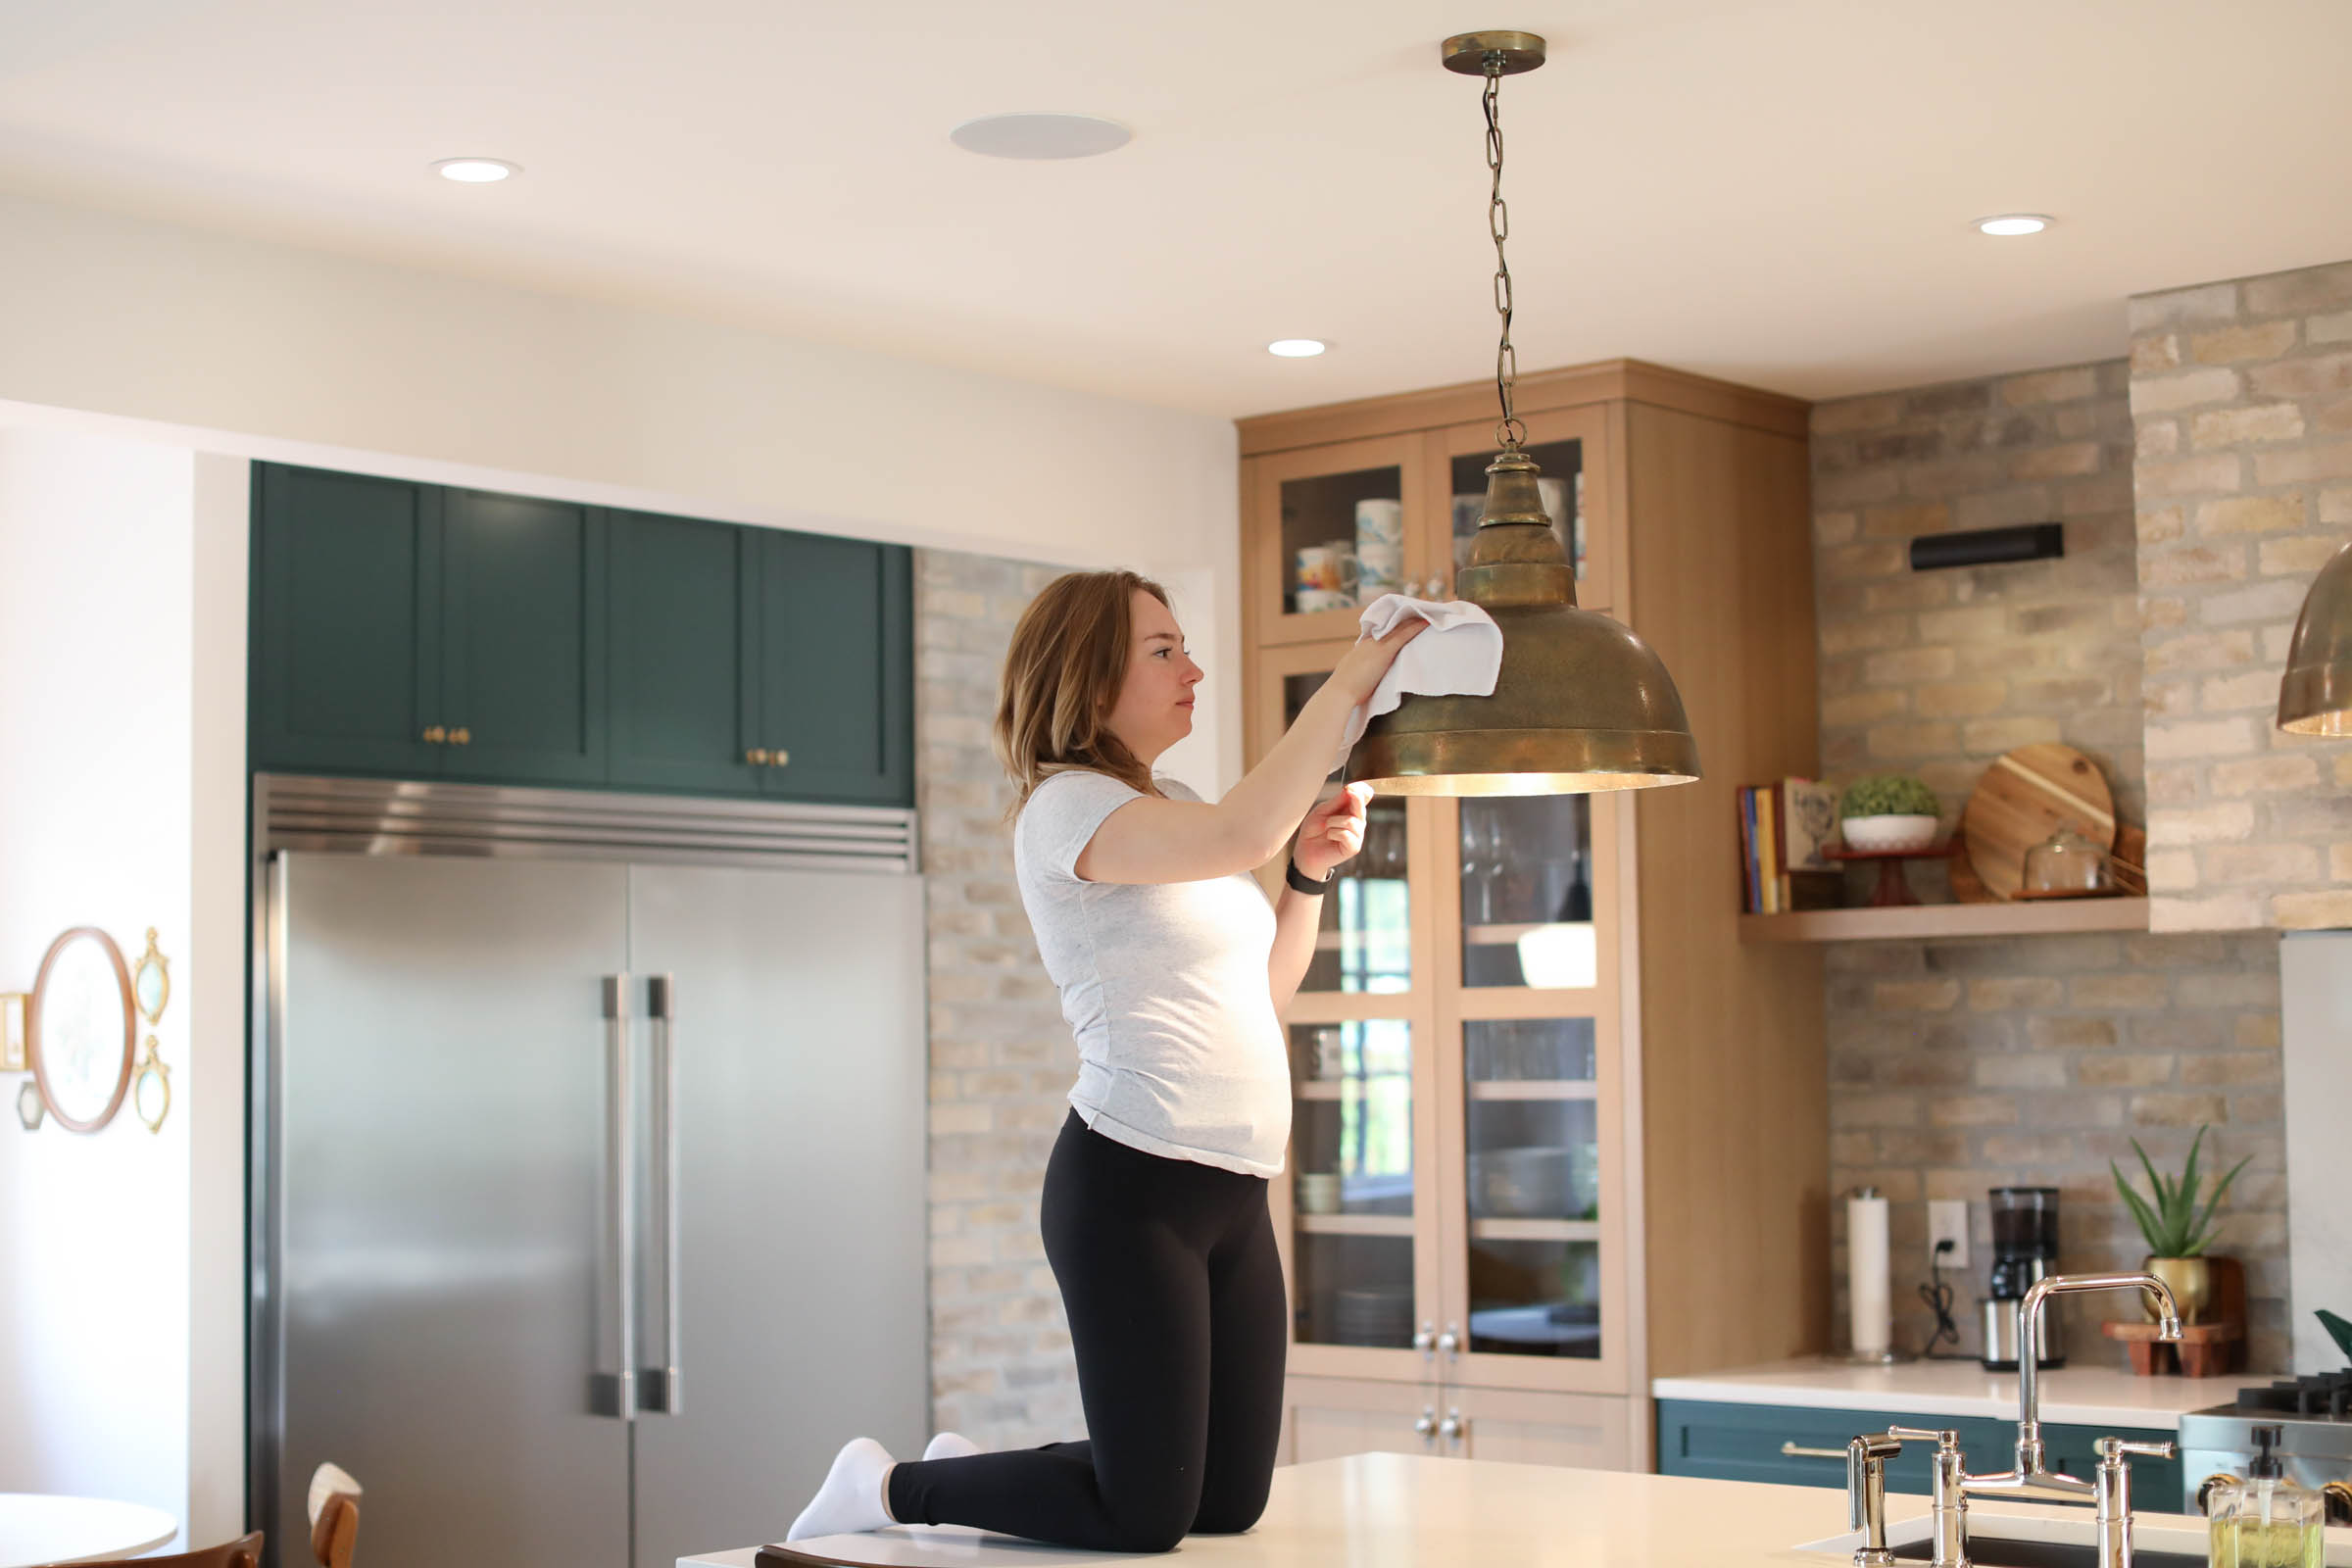
How To Clean Light Fixtures
Light fixtures can be tricky to clean. The difficulty level is more often dictated by the style of light itself rather than the actual dirt level. Crystal chandeliers, irremovable glass covers, and tiny openings (which hands or a Swiffer can’t fit between) are just some of the struggles we face daily at House Work.
Below you will find a series of steps that walk you through how to clean light fixtures. Just remember to breathe and be patient – we know glass can be intimidating!
Heads up (literally). Don’t touch your hot light bulbs with a wet cloth unless, of course, you want to start your day by cleaning a million pieces of glass off the floor.
When you buy through our links, we may earn a small commission.

Step #1
Before you clean anything, turn off the lights and take out any light bulbs that you can. Do not twist them off using a wet cloth, and allow them to cool before wiping them. Sometimes, for the sake of seeing what you are doing, this is not possible, so you will need to remove and clean one at a time.
Step #2
While the bulbs cool, you can work on the light fixture itself. See if you can take apart the light fixture. There are likely just a couple of little screws holding the glass covering in place. Here is where I encourage you to bring out your inner child and experiment/play around to see if you can take apart the light fixture – don’t be afraid, you got this!
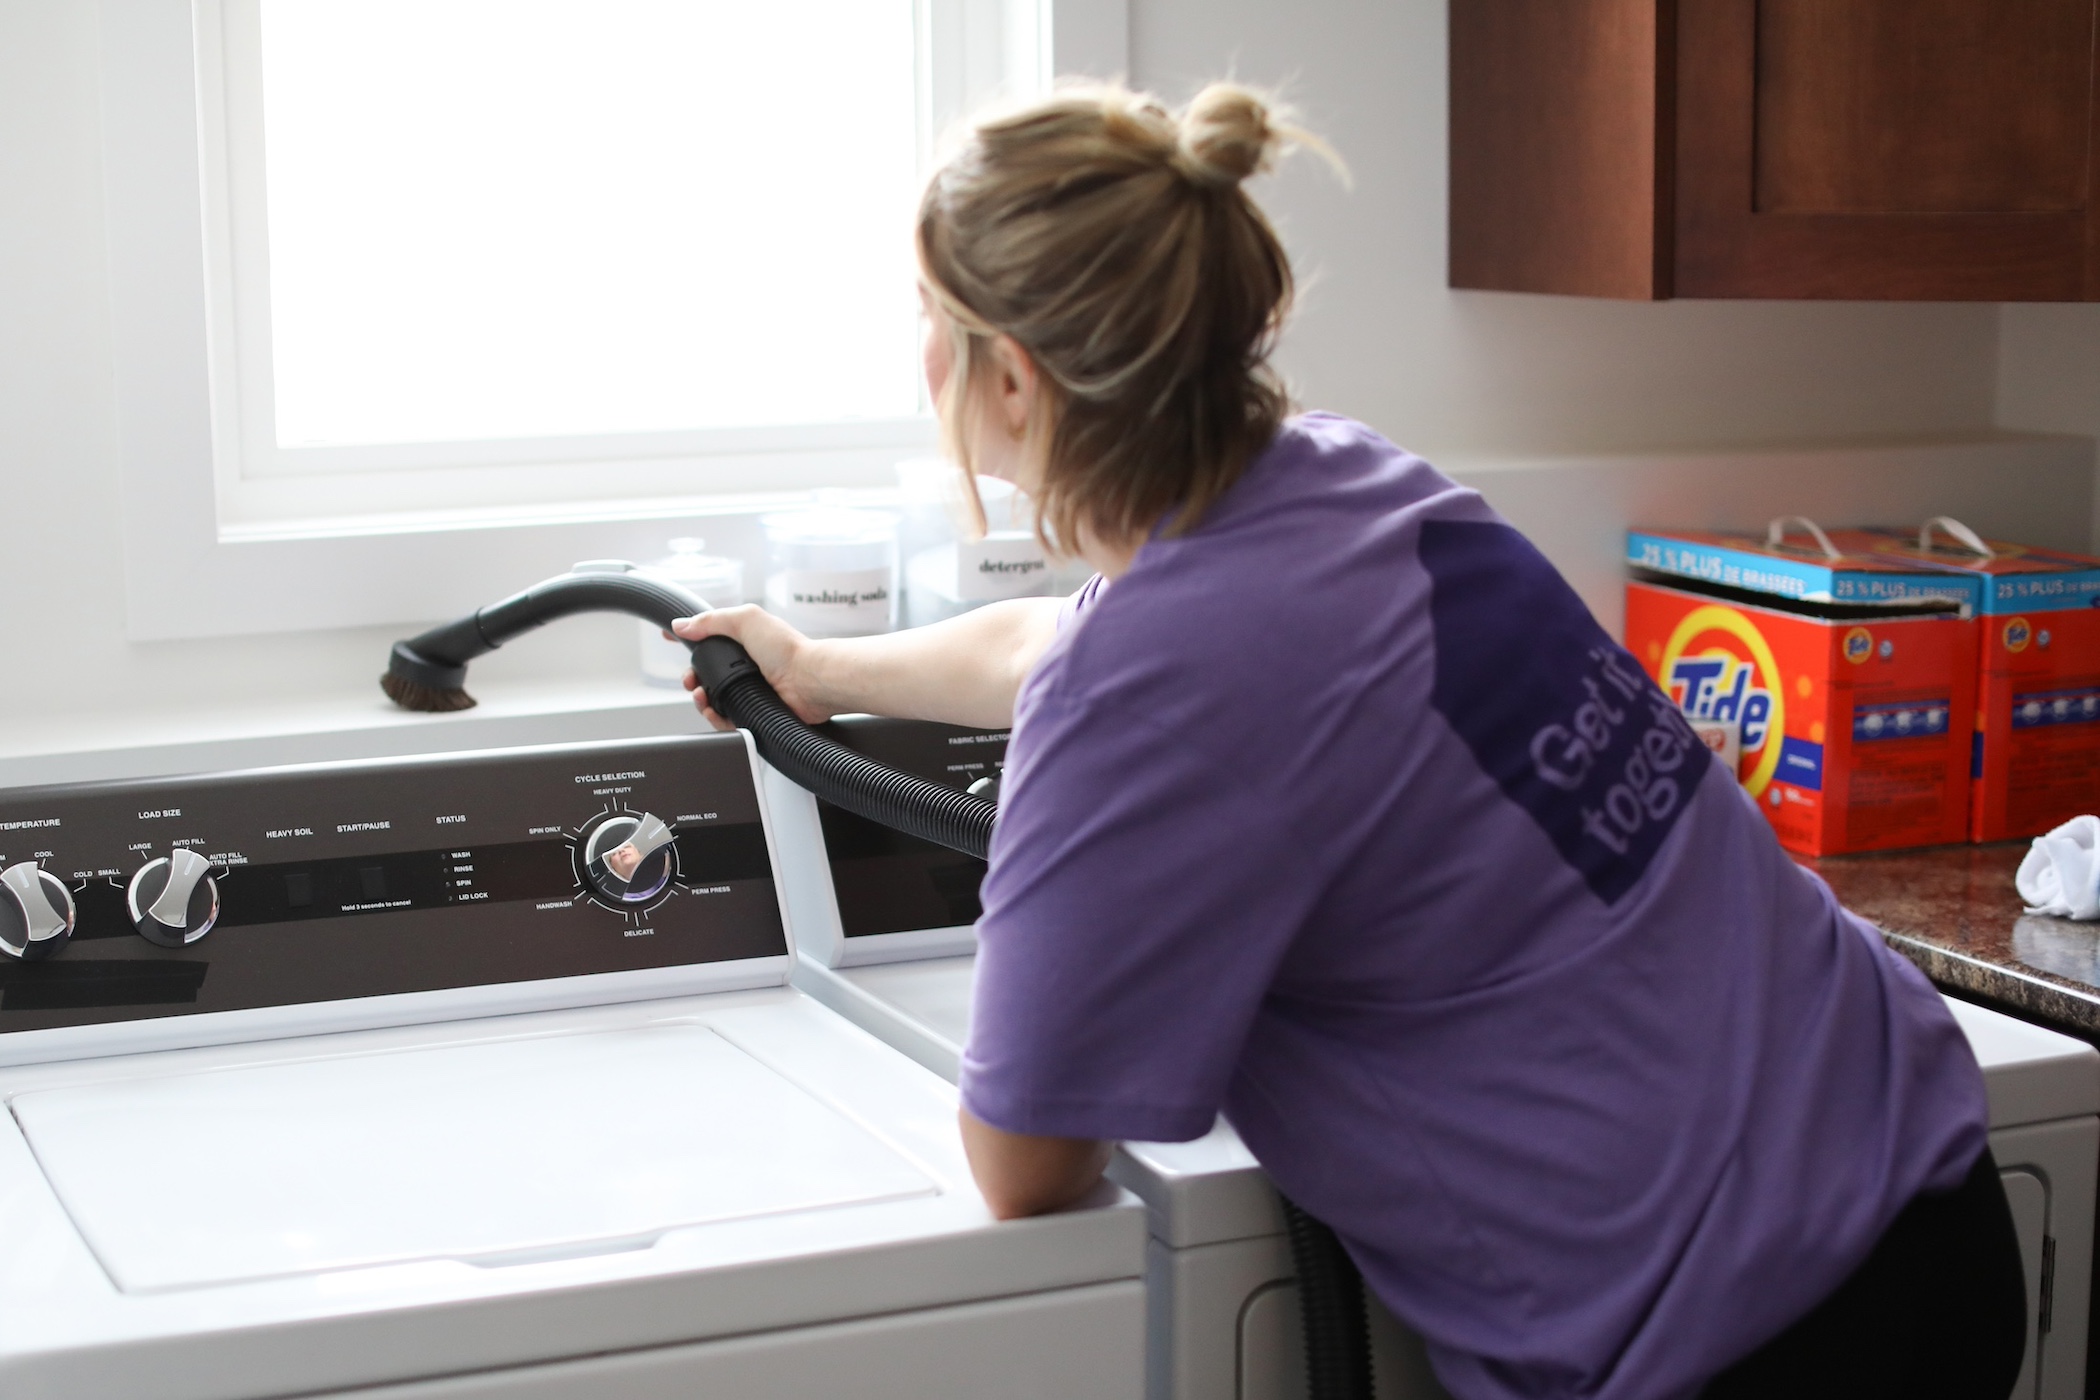
Step #3
Vacuum up (USA) (Canada) or Swiffer® any dust bunnies before going in with a wet cloth. If this hasn’t been done in centuries, or you are cleaning lights in a kitchen, the dirt may be caked on with grease and won’t come off. At this point, you will want to proceed to step 4. If your house is new or you keep it clean, you may be able to stop at this step – can I get a watt watt?! Pat yourself on the back and pour yourself some wine.

Step #4
Fill a sink or bucket with powdered Tide® (1 tsp) and hot water (1 gallon), and use a rag to wipe down the fixture and bulbs now that they have cooled.

You may have rust on your bathroom fixtures due to all the condensation. You can use Bar Keepers Friend® to remove it from most surfaces but always double check the manufacturer’s instructions on the back of the bottle.
If you’re able to use Bar Keepers Friend®, take a damp cloth and add a drop. Wipe the rust spots. You may need to give it extra time to work and let it sit. There may be permanent staining if the rust has been sitting there for years; however, you should still see an improvement.
Grease on kitchen fixtures can be very stubborn, and you may need to bring out a heavier degreaser with the big guns and bald head – Mr. Clean®
Depending on the type of fixture you have, you may or may not be able to spray directly on it and let it sit. If not, just spray straight Mr. Clean® on a damp cloth and wipe away. You will know that you have removed all the grease when your cloth glides seamlessly across the surface without catching or feeling any form of resistance.

Step #5
Polish time! You may need to pre-rinse with a clean wet cloth, depending on how much product was left behind from step 4. If you have a shiny fixture, use Windex® and a lint-free paper towel or cloth to remove any streaks or film left by the previous steps. I prefer to spray the Windex® on the cloth instead of directly on the fixture. Don’t forget to do this to your bulbs as well. Finish by using a polish cloth to wipe any streaks or lint left behind. (Inevitably, even products marketed as lint-free still leave specks).

Put everything back together and enjoy your like-new, bright, and shiny lights.
For a list of our favorite products, click here.


We're big on Instagram.
Follow @GoCleanCo for seriously satisfying videos and top-secret tips. Don’t be shy, come say hi.