


How To Clean and Polish Silver
There is almost nothing more satisfying than bringing an old, tarnished piece of silver back to life. The transformation process is so dramatic that it makes it rather exciting. Just us? Ok, maybe it’s not quite that exciting, but trust us – the end result is well worth it.
Many dishes, cutlery and jewelry are made with silver. You may also have family heirlooms, like your grandmother’s ornamental silver platter or serving trays. If they are not used often, then you’ll probably notice that they are dull from tarnish when you pull them out.
Tarnishing happens when silver is exposed to gasses in the air which contain sulfur. This reaction causes the silver to darken and become dull. Add moisture to the air and the effect will be even worse. Thankfully, it can be bright and shiny again by either stripping it with a polishing product, or reversing the tarnishing process by soaking it in an aluminum foil bowl or pan with baking soda. (See recipe below.) This causes a chemical reaction that removes the sulfur. You may even see remnants of it on the aluminum foil.
You may notice a rotten egg smell when cleaning your silver. Gag. That’s from the sulfur that was removed. Might be a good idea to open your windows, and have some room freshener handy after this process is done.
Some things to consider:
- While there are lots of home remedies out there it’s important to make sure it’s actually safe for your silver.
- Know that every time you strip silver, it will wear it away bit by bit. Particularly for silver-plated objects, it can remove it entirely.
- Start small. Before polishing your entire silverware set, start with an inconspicuous area of a piece you don’t particularly care about. This way, if your polishing technique is off, or if your product isn’t working as intended, you can make some changes before ruining multiple pieces.
- Use the right method for your items. Different polishing methods have different strengths and weaknesses, so use the right one for your specific items. For example, if you have a silver necklace with an ornate, intricate design, scrubbing it may be difficult. It may be better to let the item soak for a long period of time.
- Consult with an expert on antiques. If you have antique silver or sentimentally important items, you should know that improper polishing techniques run the risk of damage. If you’re concerned about their integrity, consider consulting with an expert so you can help the silver look better without risking its appearance.
When you buy through our links, we may earn a small commission.
Method # 1 – Strip it
This method works well on larger objects such as platters, serving bowls and trays. You just need a little time and elbow grease.
What you’ll need:
- Dealer’s Choice: Peek® Metal Polish (USA) (Canada) or Tarn-X (USA) (Canada) or Silvo® metal polish (USA) (Canada) – Our personal favorite is Peek®
- Paper towel or a cloth
- A soft toothbrush
- Carbon cloth (USA) (Canada)
- Gloves


How to do it:
- Wear gloves, and follow the manufacturer’s instructions.
- Using a paper towel or cloth, apply a squirt of the product on the silver. You don’t need much; a little goes a long way.
- Rub the product into the silver. You will see the silver start to become shiny again and the towel will be dark from the tarnish. Keep going until you’ve removed all of the tarnish. Bring out the toothbrush to get into any nooks and crannies.
- Make sure to rinse well with some water afterward to remove any residue left from the product.
- A quick buff with a carbon cloth will bring out ALL the shine.


Method #2 – Soak it
If you have many items to clean at once, such as utensils and other similar items, try this out:
What you’ll need:
- Bowl or pan big enough to submerge silver in
- Aluminum foil
- Boiling water
- 1 tbsp baking soda
- 1 tbsp sea salt
- ½ cup white vinegar
How to do it:
- Line a bowl or pan with aluminum foil.
- Add in the boiling water, baking soda, sea salt, and vinegar (please use caution and don’t burn yourself).
- Throw in your silver and let sit for about 10 minutes. You will see the reaction happen before your eyes.
- Remove, rinse and polish with a cloth such as Weiman® Silver Wipes (USA) (Canada). The reaction will remove the majority of the tough tarnish, but we found we still needed a bit of elbow grease to bring everything back to its full glory.
Let your personality shine along with your jewelry!
Going out for a date night and your favorite silver necklace lacks its luster? We have a few options to brighten it up for your night out!
Soak It
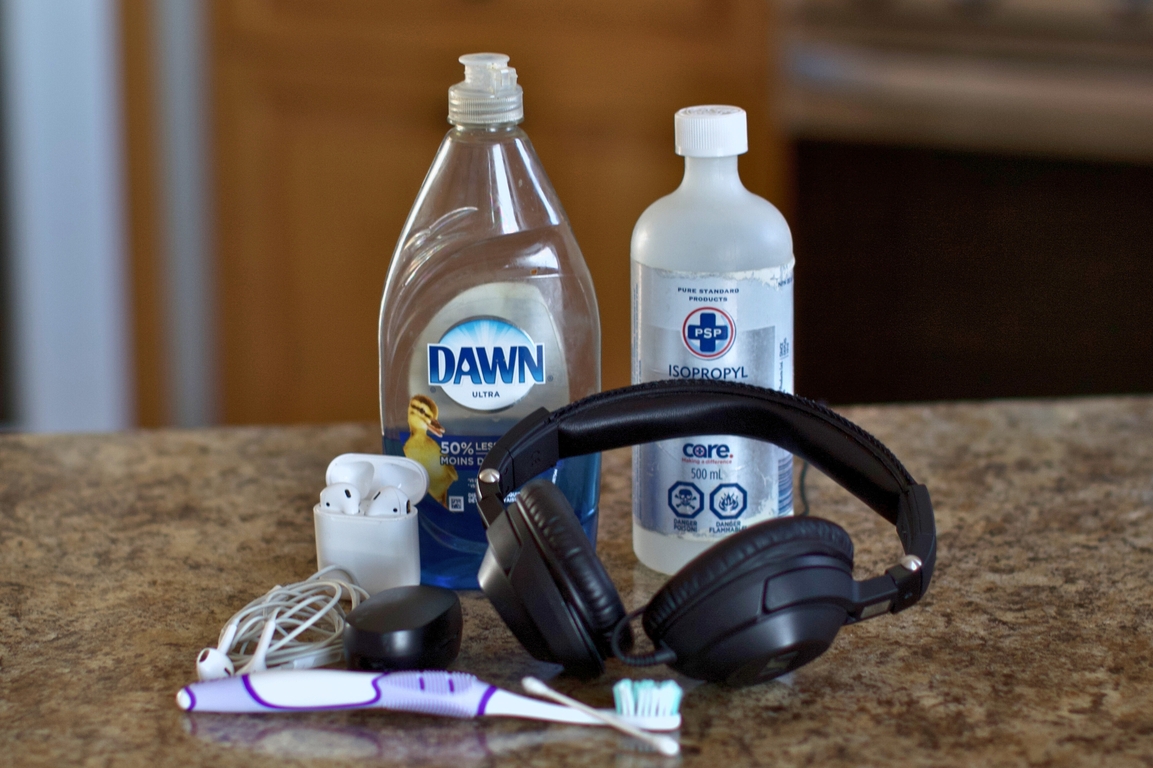
- Add a couple drops of blue Dawn® dish soap into warm water in a bowl. We also love Weiman® Jewelry Cleaner (USA) (Canada).
- Submerge your jewelry and let it sit for about 5 mins
- Remove and gently scrub the jewelry with a toothbrush (not one you use to brush your teeth with).
- Rinse and pat dry with a soft cloth. (If rinsing in the sink, be sure to place the stopper so your precious jewelry doesn’t accidentally fall into the drain)
- This will also save your pocketbook as it’s a cheap way to polish!

Polishing Cloths
These are ready for use and mess free as there is no need to pre-wet or add any products.
- Gently clean and buff your jewelry (some come with 2 separate cloths for this) and the tarnish will come off onto the cloth making it look shiny and new again.
- Great option when traveling.
- Some cloths can be hand washed while others are one time use. Check the instructions on the product label.
Polishing Creams
Creams are another good option to shine and restore your silver. Again, check the label instructions for proper use.
- Dampen your jewelry under warm water.
- Gently scrub your jewelry with the cream and a soft cloth until the tarnish is removed.
- Rinse the jewelry under warm water, and pat dry with a clean cloth.
- Wash your hands thoroughly as well!
Can you stop tarnishing from happening? Not entirely.
You may not be able to fully prevent silver from tarnishing, but there are a few ways to hinder the process.
- Keep harsh chemicals away from it.
- Use or wear it regularly to keep it looking like new.
- Wipe silver after using it or wearing it.
- If it won’t be used frequently, keep it away from moisture and place it in an airtight case.
- Store each piece separately and use Anti-Tarnish Prevention Bags (USA) (Canada) or wrap each piece in Saran wrap to prevent contact with the air.

Show off your silver! Take a look around your house and see what silver items you have that need some love. Perhaps for your next gathering with family and friends, you can wow your guests by displaying or using them, and reminisce about the memories these pieces hold.
For more cleaning tips and tricks check out our blog.
For a list of our favorite products, click here.
– Denise @ GoCleanCo

We're big on Instagram.
Follow @GoCleanCo for seriously satisfying videos and top-secret tips. Don’t be shy, come say hi.