

How To Organize Your Pantry
Don’t beat yourself up if you’re overwhelmed by cleaning and organizing your kitchen. It can be one of the most intimidating tasks in your home. And like any intimidating task, the best approach is to start with one task.
If you try to do everything at once, you’ll end up accomplishing nothing. Start with a single project and the progress will fuel your motivation.
Where do I recommend starting? Pretty simple: the pantry.
I like starting with the pantry, because you can see the benefits right away. In turn, this inspires you to keep going.
The 5 Big Benefits of an Organized Pantry
Having an organized pantry isn’t just a Pinterest flex – it’s got some real benefits. Here are a few of my faves:
- Less food waste. When your pantry is disorganized, stuff seems to disappear. And by the time those items resurface, they’re usually stale or spoiled. By organizing your pantry, you know exactly what you have. This means you can actually use it before it goes bad.
- Save $$$. Stop overbuying food that you already have at home. A quick glance at your pantry shelves will show you what you have and what you need.
- Faster food prep. When you can find what you need, food prep gets a whole lot easier. No more running to the store to grab an item you forgot when you’re in the middle of cooking a meal. Everything you need is right where it should be.
- Save space. If you think you need a bigger pantry, you might just need a better organized pantry. With an organization system in place, you maximize the space you have and use every square inch to its full potential.
- Cleanliness. When your pantry is disorganized, it’s easy to let messes go untouched. But when your pantry is organized, CLEAN becomes the default. (Plus, it’s easier to maintain a clean pantry when you can easily access every shelf and corner.)
Simple Tips for Cleaning and Organizing Your Pantry
Here are our 4 easy steps for cleaning and organizing your pantry.
1. Gather your tools
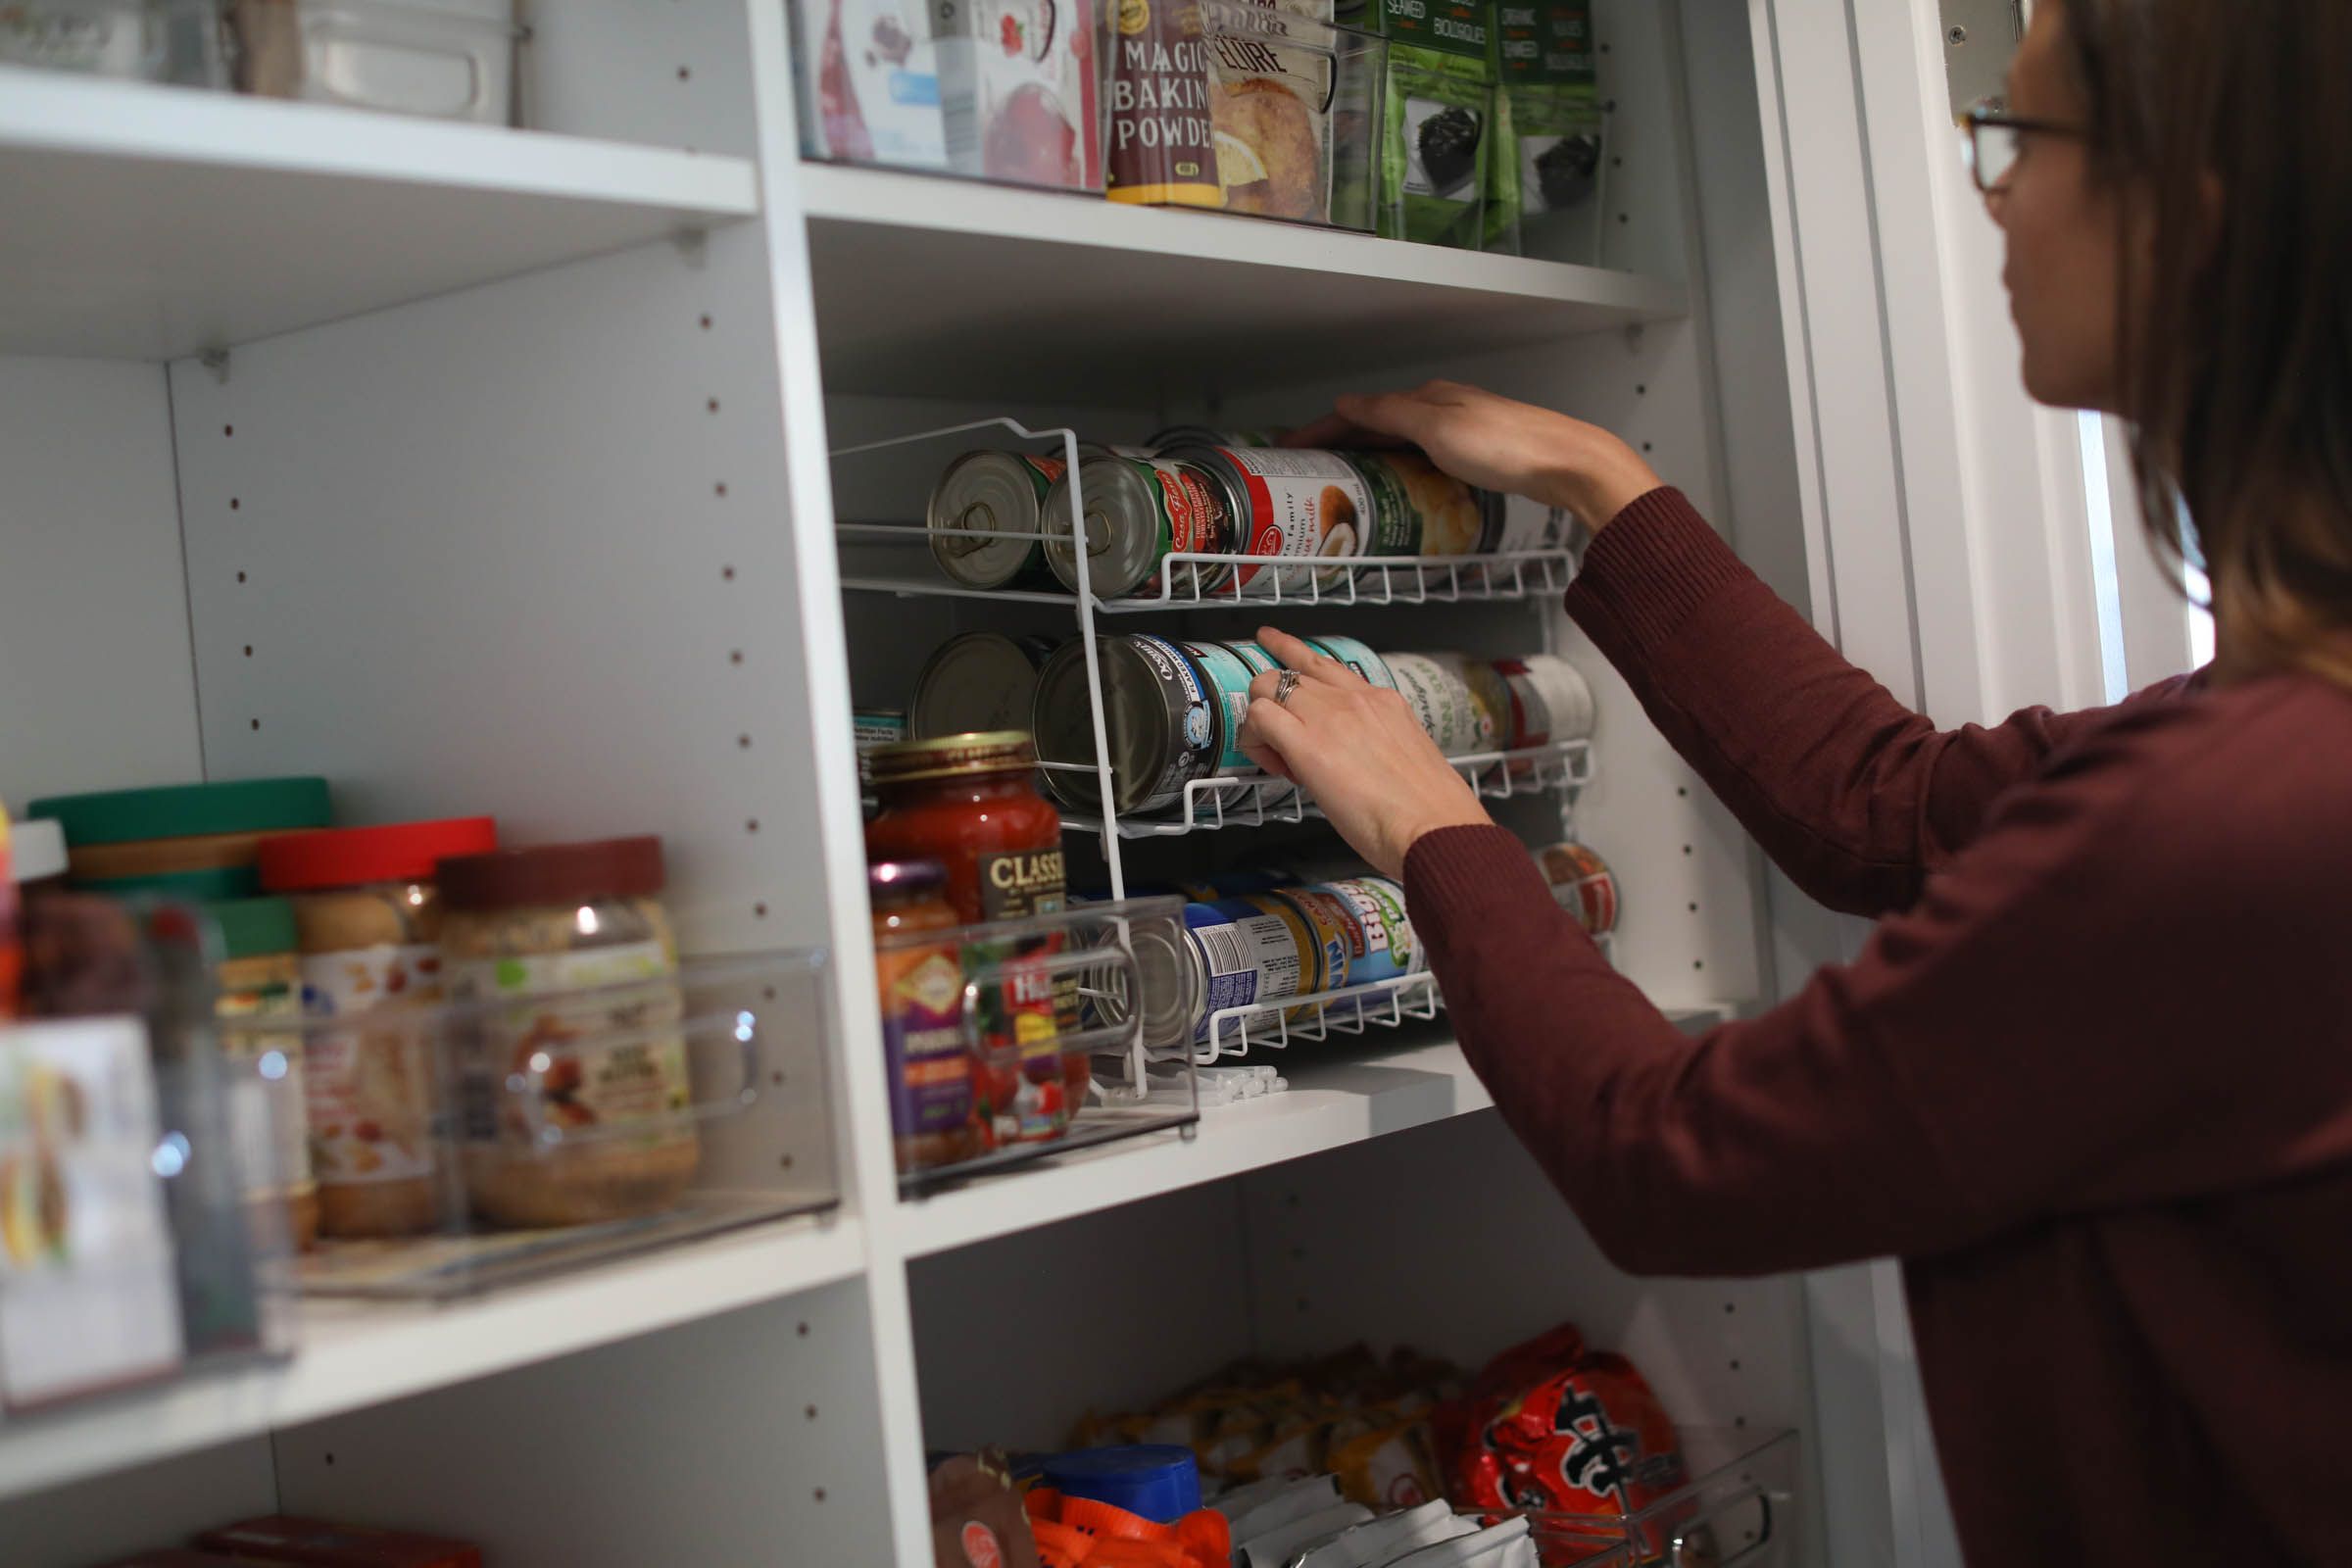
Purchase (or gather existing) containers, bins and organizational tools ahead of time. (See below for the ones we love.) Measure your shelf depth and try to get containers that will maximize that depth. Consider accessibility and use items like lazy susans, can organizers, and risers.
Pro tip: If you have these ahead of time, you can put your food into them as you empty your pantry.
Our favorite pantry tools and systems are CLEAR bins and organizers, so that you can see what you have at all times. If that doesn’t work for your budget, feel free to work with what you have, or check out the dollar store for some budget-friendly bins too!
2. Take everything out. Seriously. Everything.
Toss anything that is expired and donate anything you won’t use. Just like clothes… if you haven’t used something in 6 months, chances are it’s not ever going to get used. Wipe the dust and food off of the packages as you remove them, too.
Place everything else into your bins as you go, or into piles of like items. For example:
- Canned goods
- Pasta
- Spreads
- Cereal / Breakfast Foods
- Baking Supplies
- Kid Snacks
- Adult Snacks
- Beverages
- Oils / Vinegars
- Spices / Mixes
- Chips

3. Clean it thoroughly
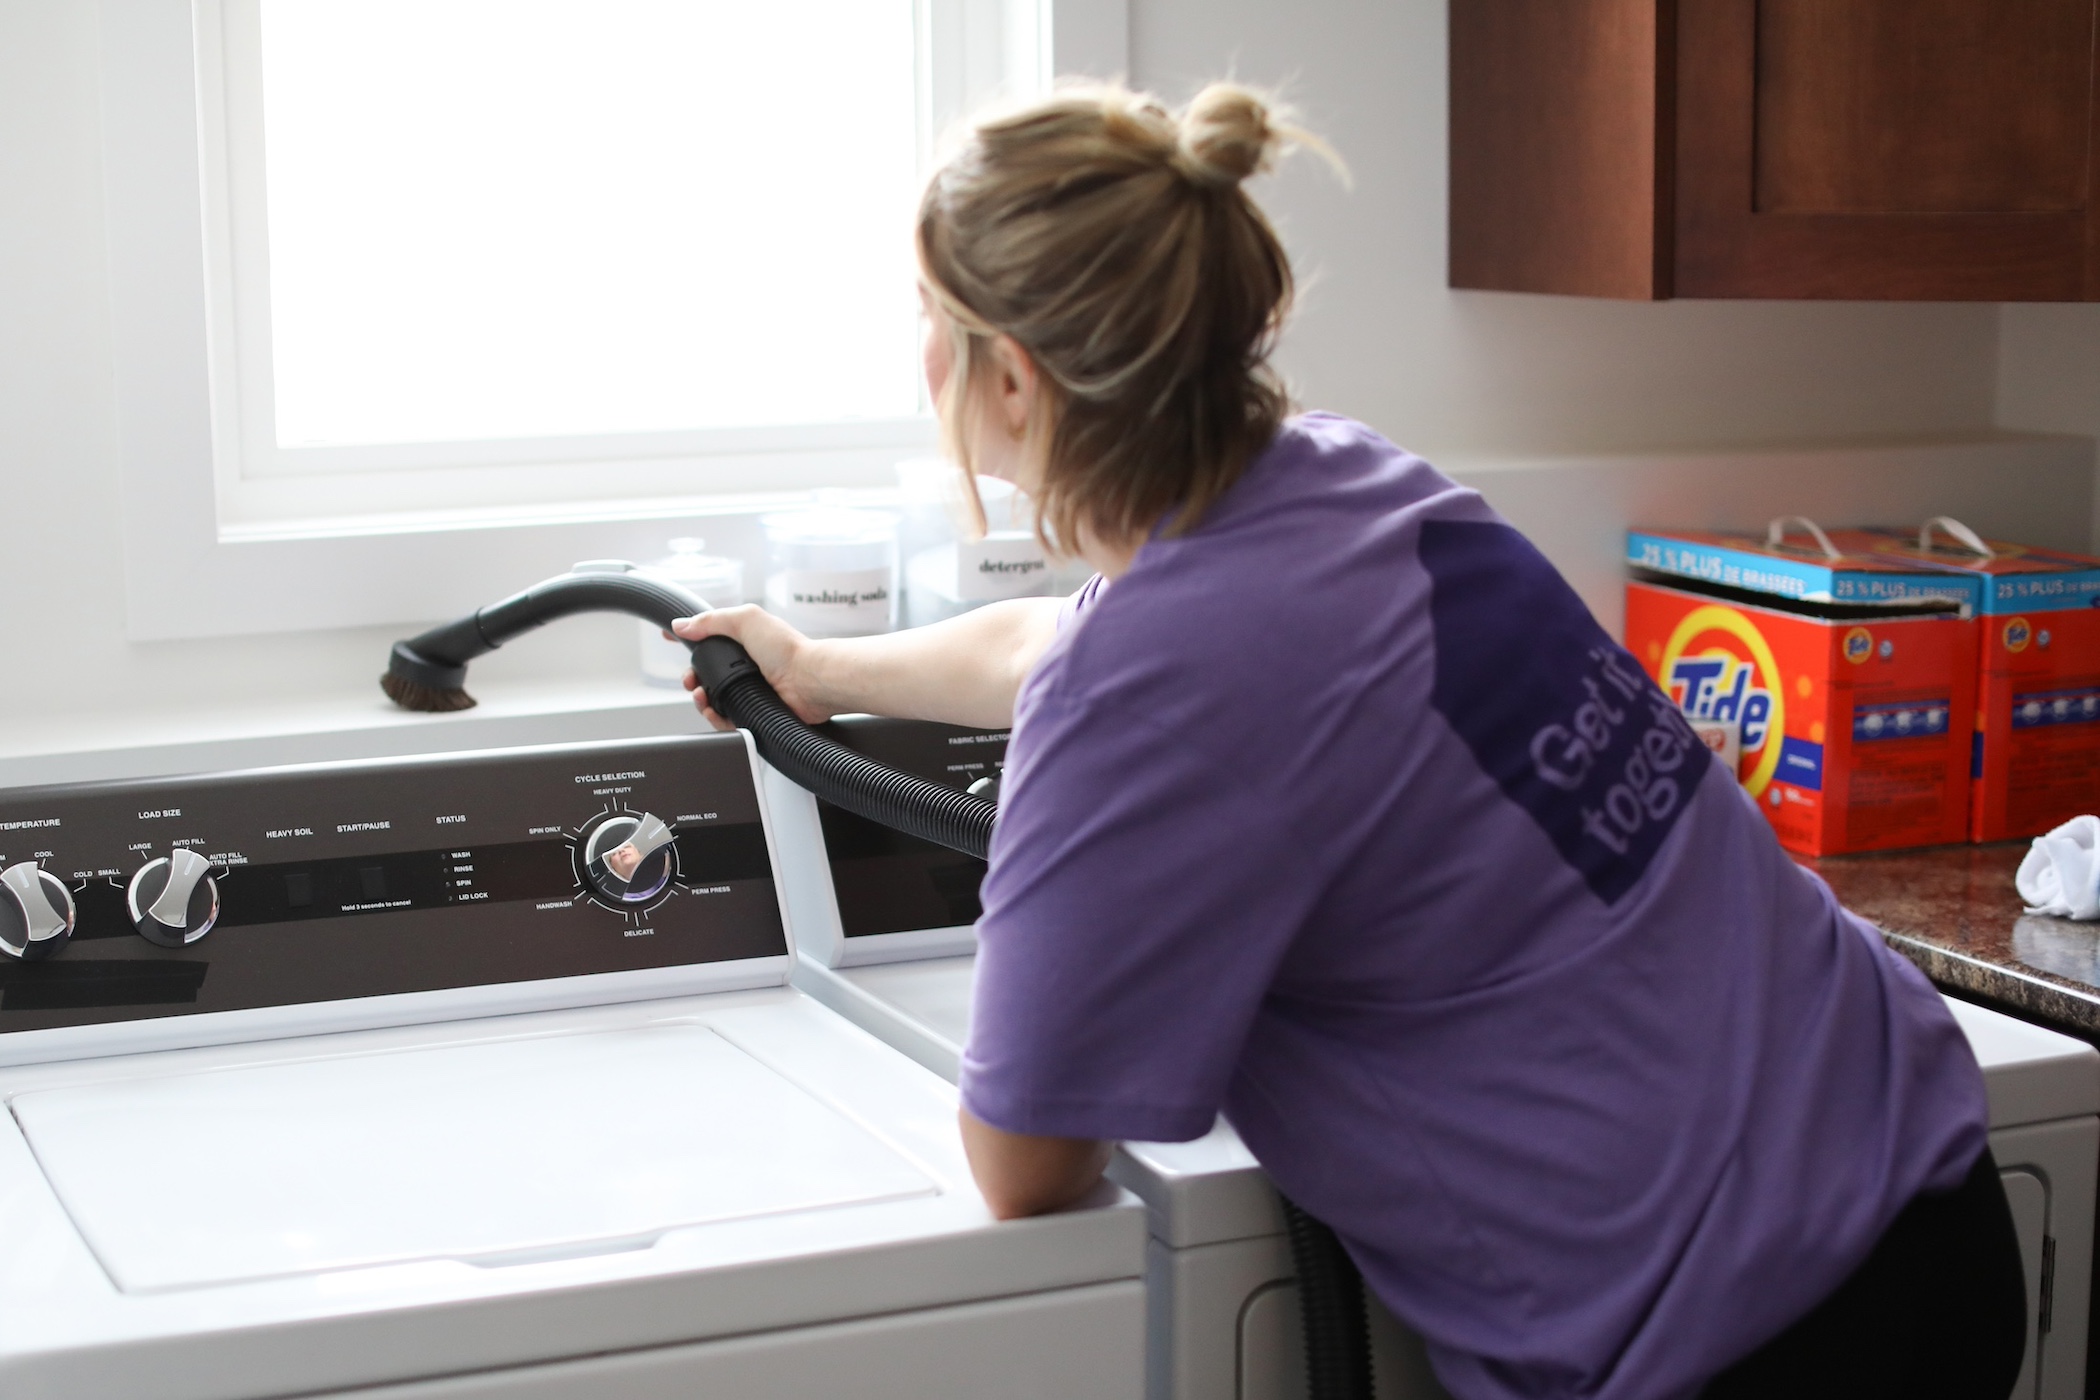
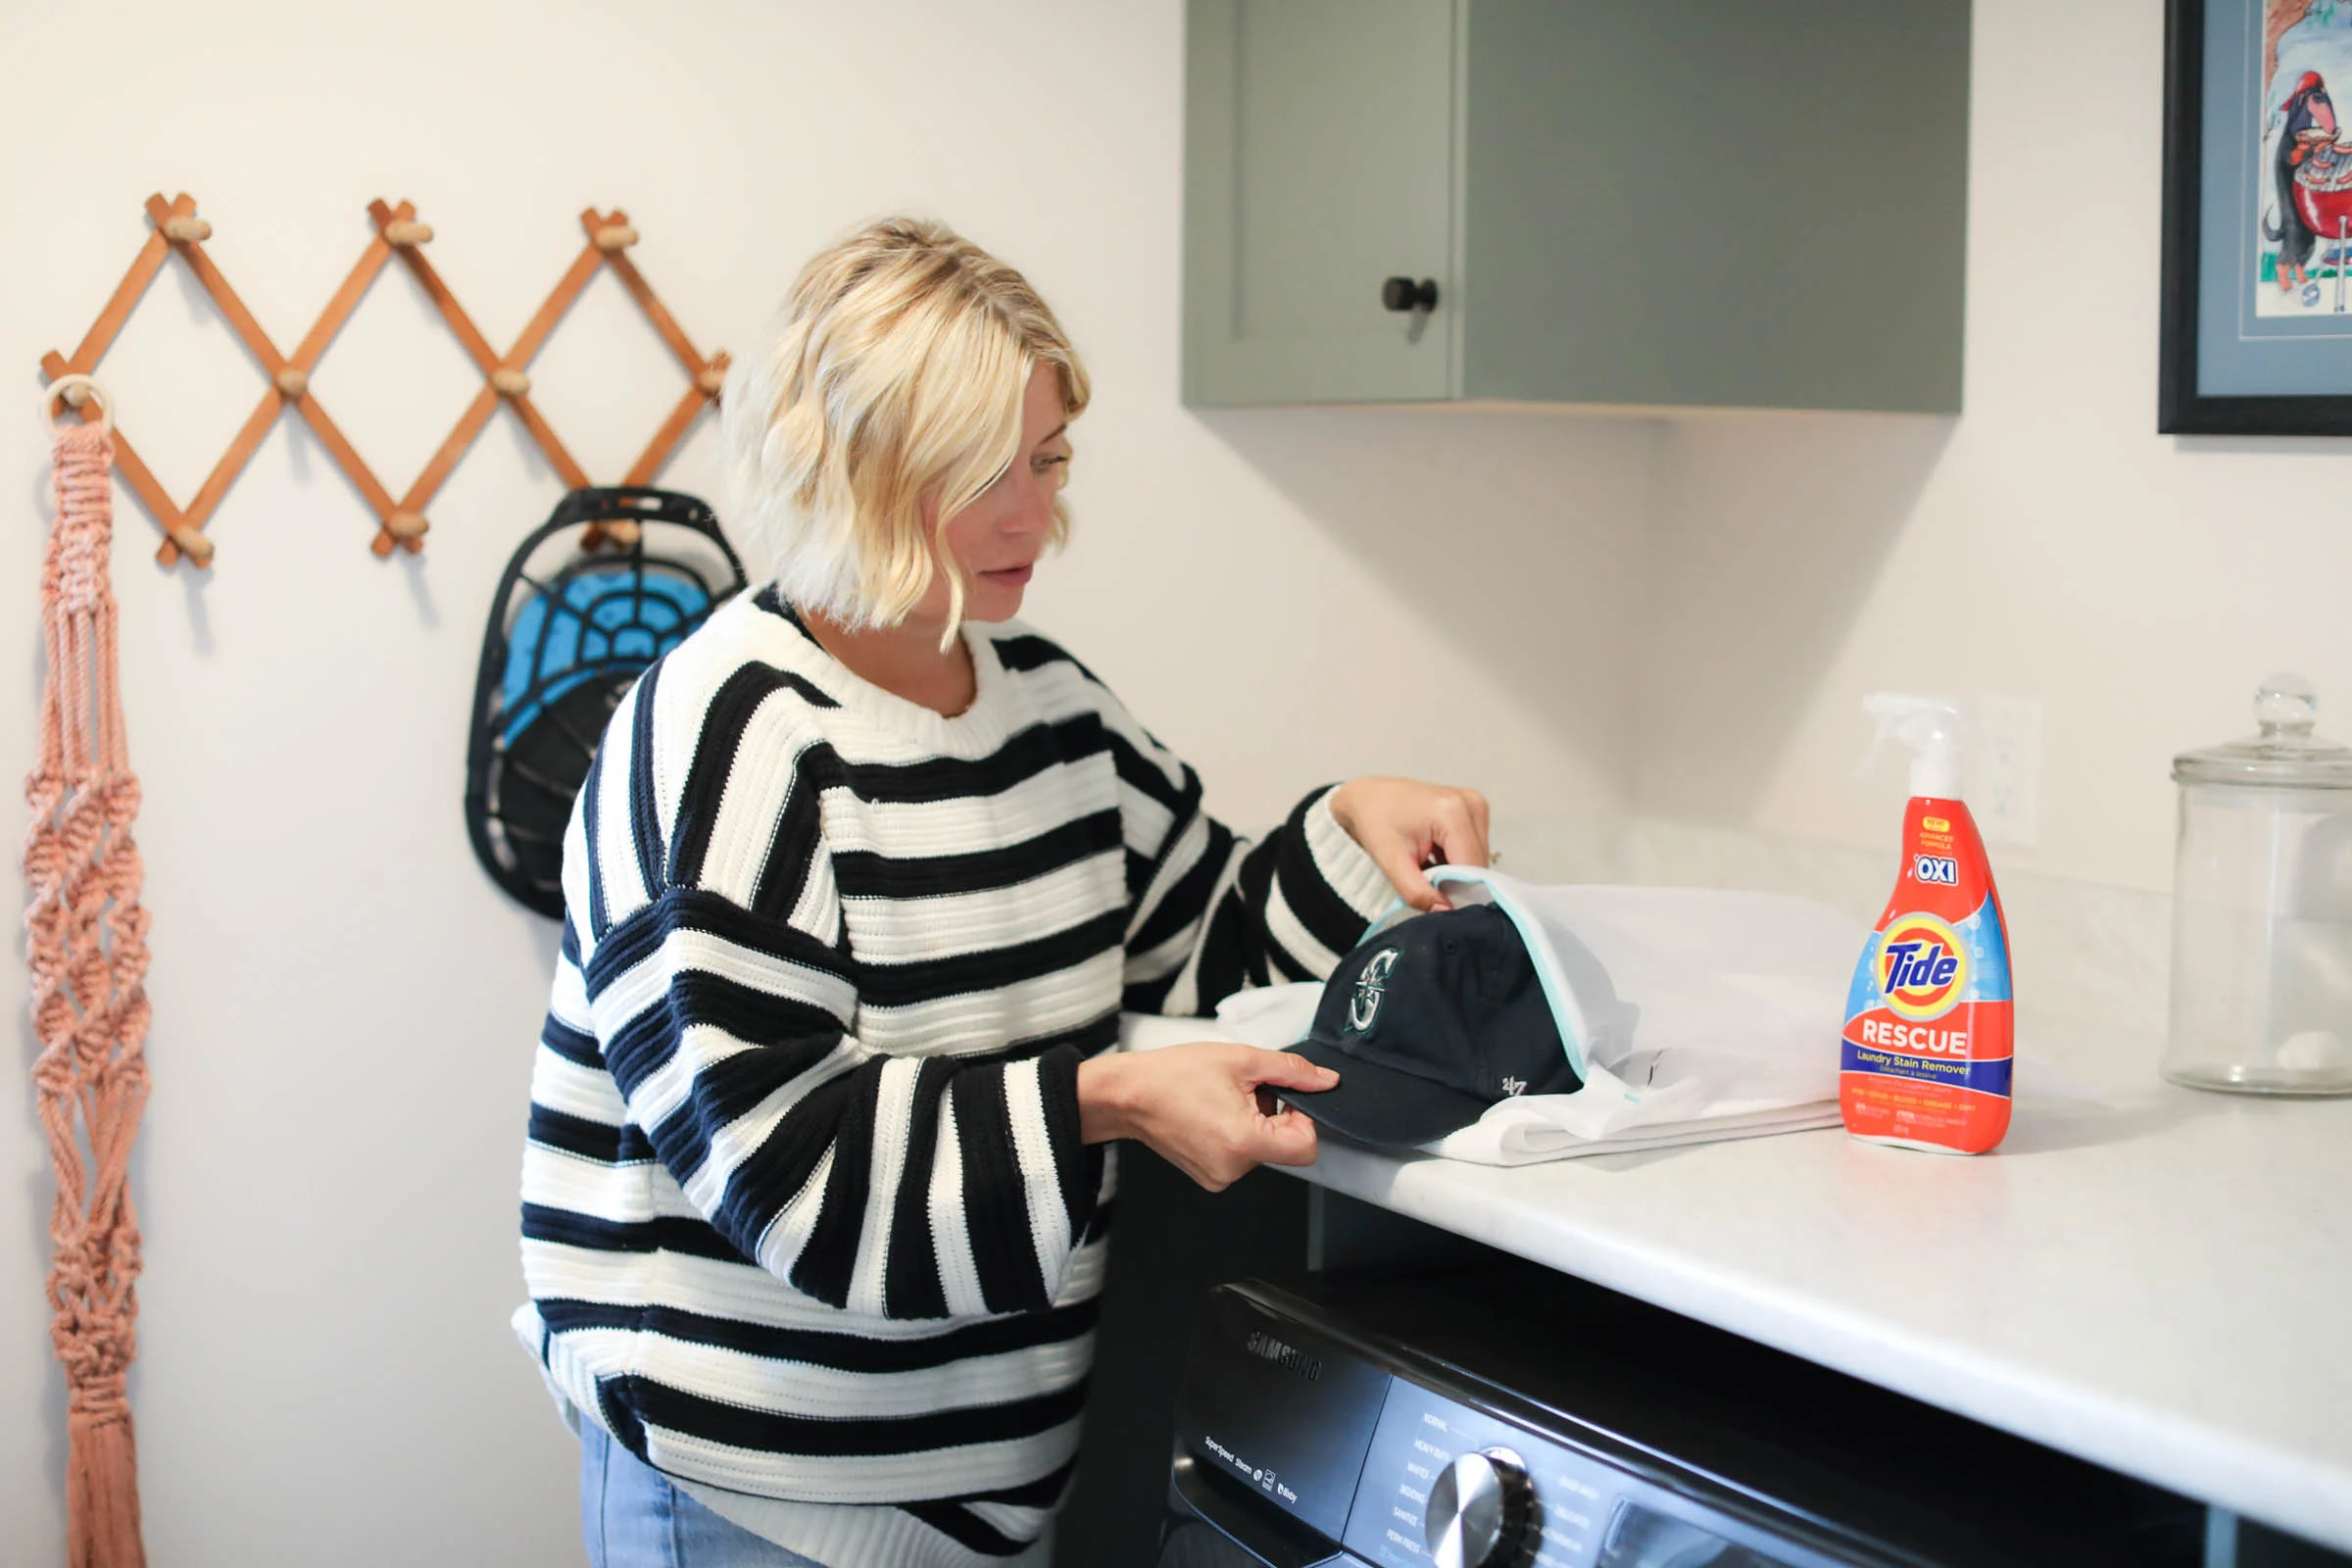
You know the drill. Get after it with your vacuum. Vacuum the walls, shelves, baseboards and floor. Then you’re going to wipe down every surface. (Our recipe of water, bleach and Tide works wonders here. But if you have stubborn food spills, you can bring out Mr. Clean.)

Do you like your current shelving? If you have wire shelves, you might want to add a custom cut piece of particle board or plywood on top of the shelf, so that you have more options when it comes to organizers. Evaluate the heights between shelves if yours are adjustable, now is the time to change those up to work for you.

4. Put it all back together
Next, put everything back into the pantry. Some things to consider when deciding on placement:
- Weight. Don’t overload one shelf with all the heavy things or you could risk breaking it. And keep heavy items close to the supports (the wall or a bracket).
- Safety. The heaviest things should go on the floor, and lighter items should go up high to avoid injury when you are taking it out. If you keep medicine in your pantry, keep it out of reach from the littles.
- Eyeline. Who is this for, and how much will they need it? If it’s for the kids, do you want easy access for them for quick snacks, or do you want those up high where they can’t reach them, so they might actually eat their damn supper?
- Expiry. Use the first in, first out approach. Older items go in front, newer behind, so that you use the older items before they expire.
- Labels. Make sure you label your bins, so that you can stay organized. Depending on your bins you can use a label maker, chalkboard labels, stickers, dry erase markers, or bin tags.

When you buy through our links, we may earn a small commission.
Products we love for pantries:

- Home Organization:
Now it’s time to get to work.
For a list of our favorite products, click here.
– Becky @ GoCleanCo

We're big on Instagram.
Follow @GoCleanCo for seriously satisfying videos and top-secret tips. Don’t be shy, come say hi.