


The Best Method for Cleaning Blenders
Smoothies, milkshakes, and soups are perfect candidates for that blender sitting atop your counter. Fruit, veggies, milk, ice, peanut butter, protein powder – you name it and it can be mixed and blended into a silky concoction. But if you aren’t careful, mold, bacteria and stuck-on food can silently cling to the insides of your blender and turn it into a canister of filth.
Vitamix, Ninja, NutriBullet, BlendTec, etc. are all prone to build up and stuck-on debris when you don’t clean them regularly. And even if you do clean your blender after each use, it’s possible that you aren’t cleaning it correctly.
Blenders require a very special cleaning regimen in order to remove crud and bacteria from all of those hard-to-reach nooks and crannies. If you’ve never been taught how to clean a blender, it’s likely that you’re doing it wrong. (Or, at the very least, you aren’t being as thorough or efficient as you could be.) As a result, you could be putting your health at risk.
In this guide, we’re going to show you how to thoroughly clean a blender so that it’s clean and safe to use each time you pull it out.
When you buy through our links, we may earn a small commission.
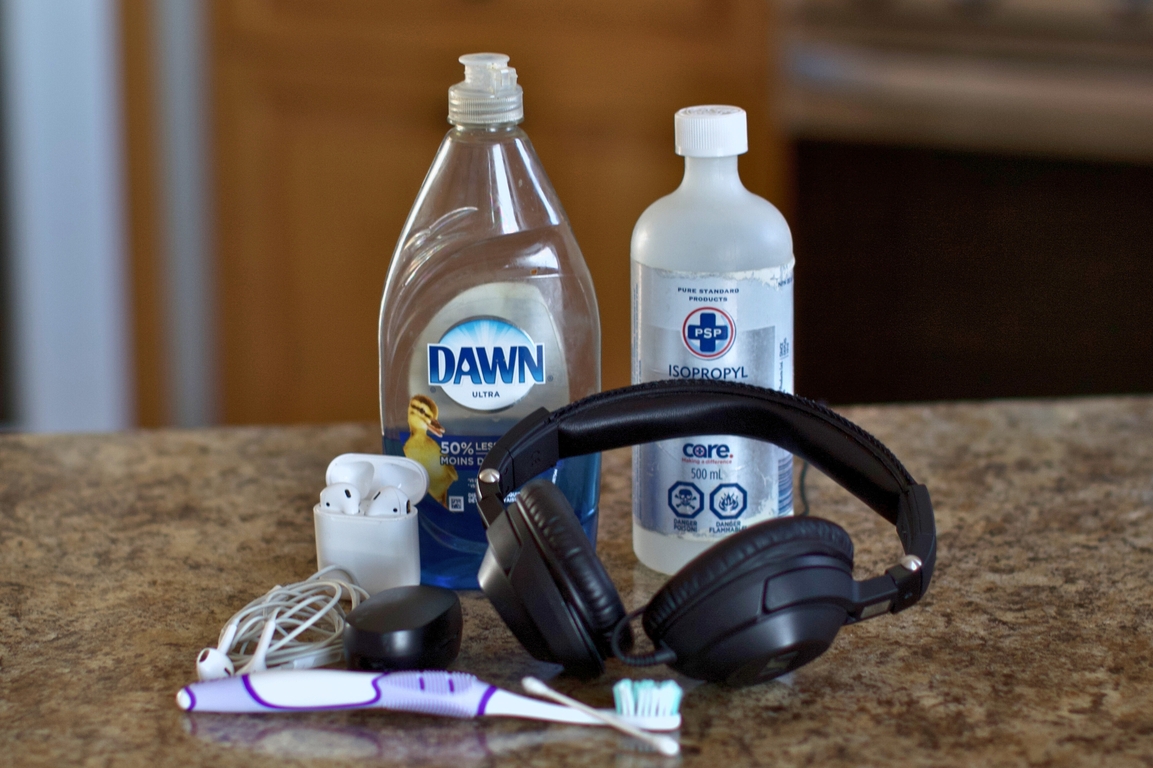
What you’ll need:
- Blue Dawn® dish soap
- Microfibre Cloths
- Scrub brushes
- Weiman® Stainless steel or Windex (Optional)
- Dawn® Powerwash Dish Spray
- Baking soda
Daily Use

As is the case with most cleaning projects in the home, it’s important to clean as you go. If you clean your blender (Canada) (USA) after each use, you’ll make your life a lot easier. The problem is that most people are unwilling to do this. But guess what? It’s not nearly as difficult as you might think. We’ll walk you through the exact steps below.
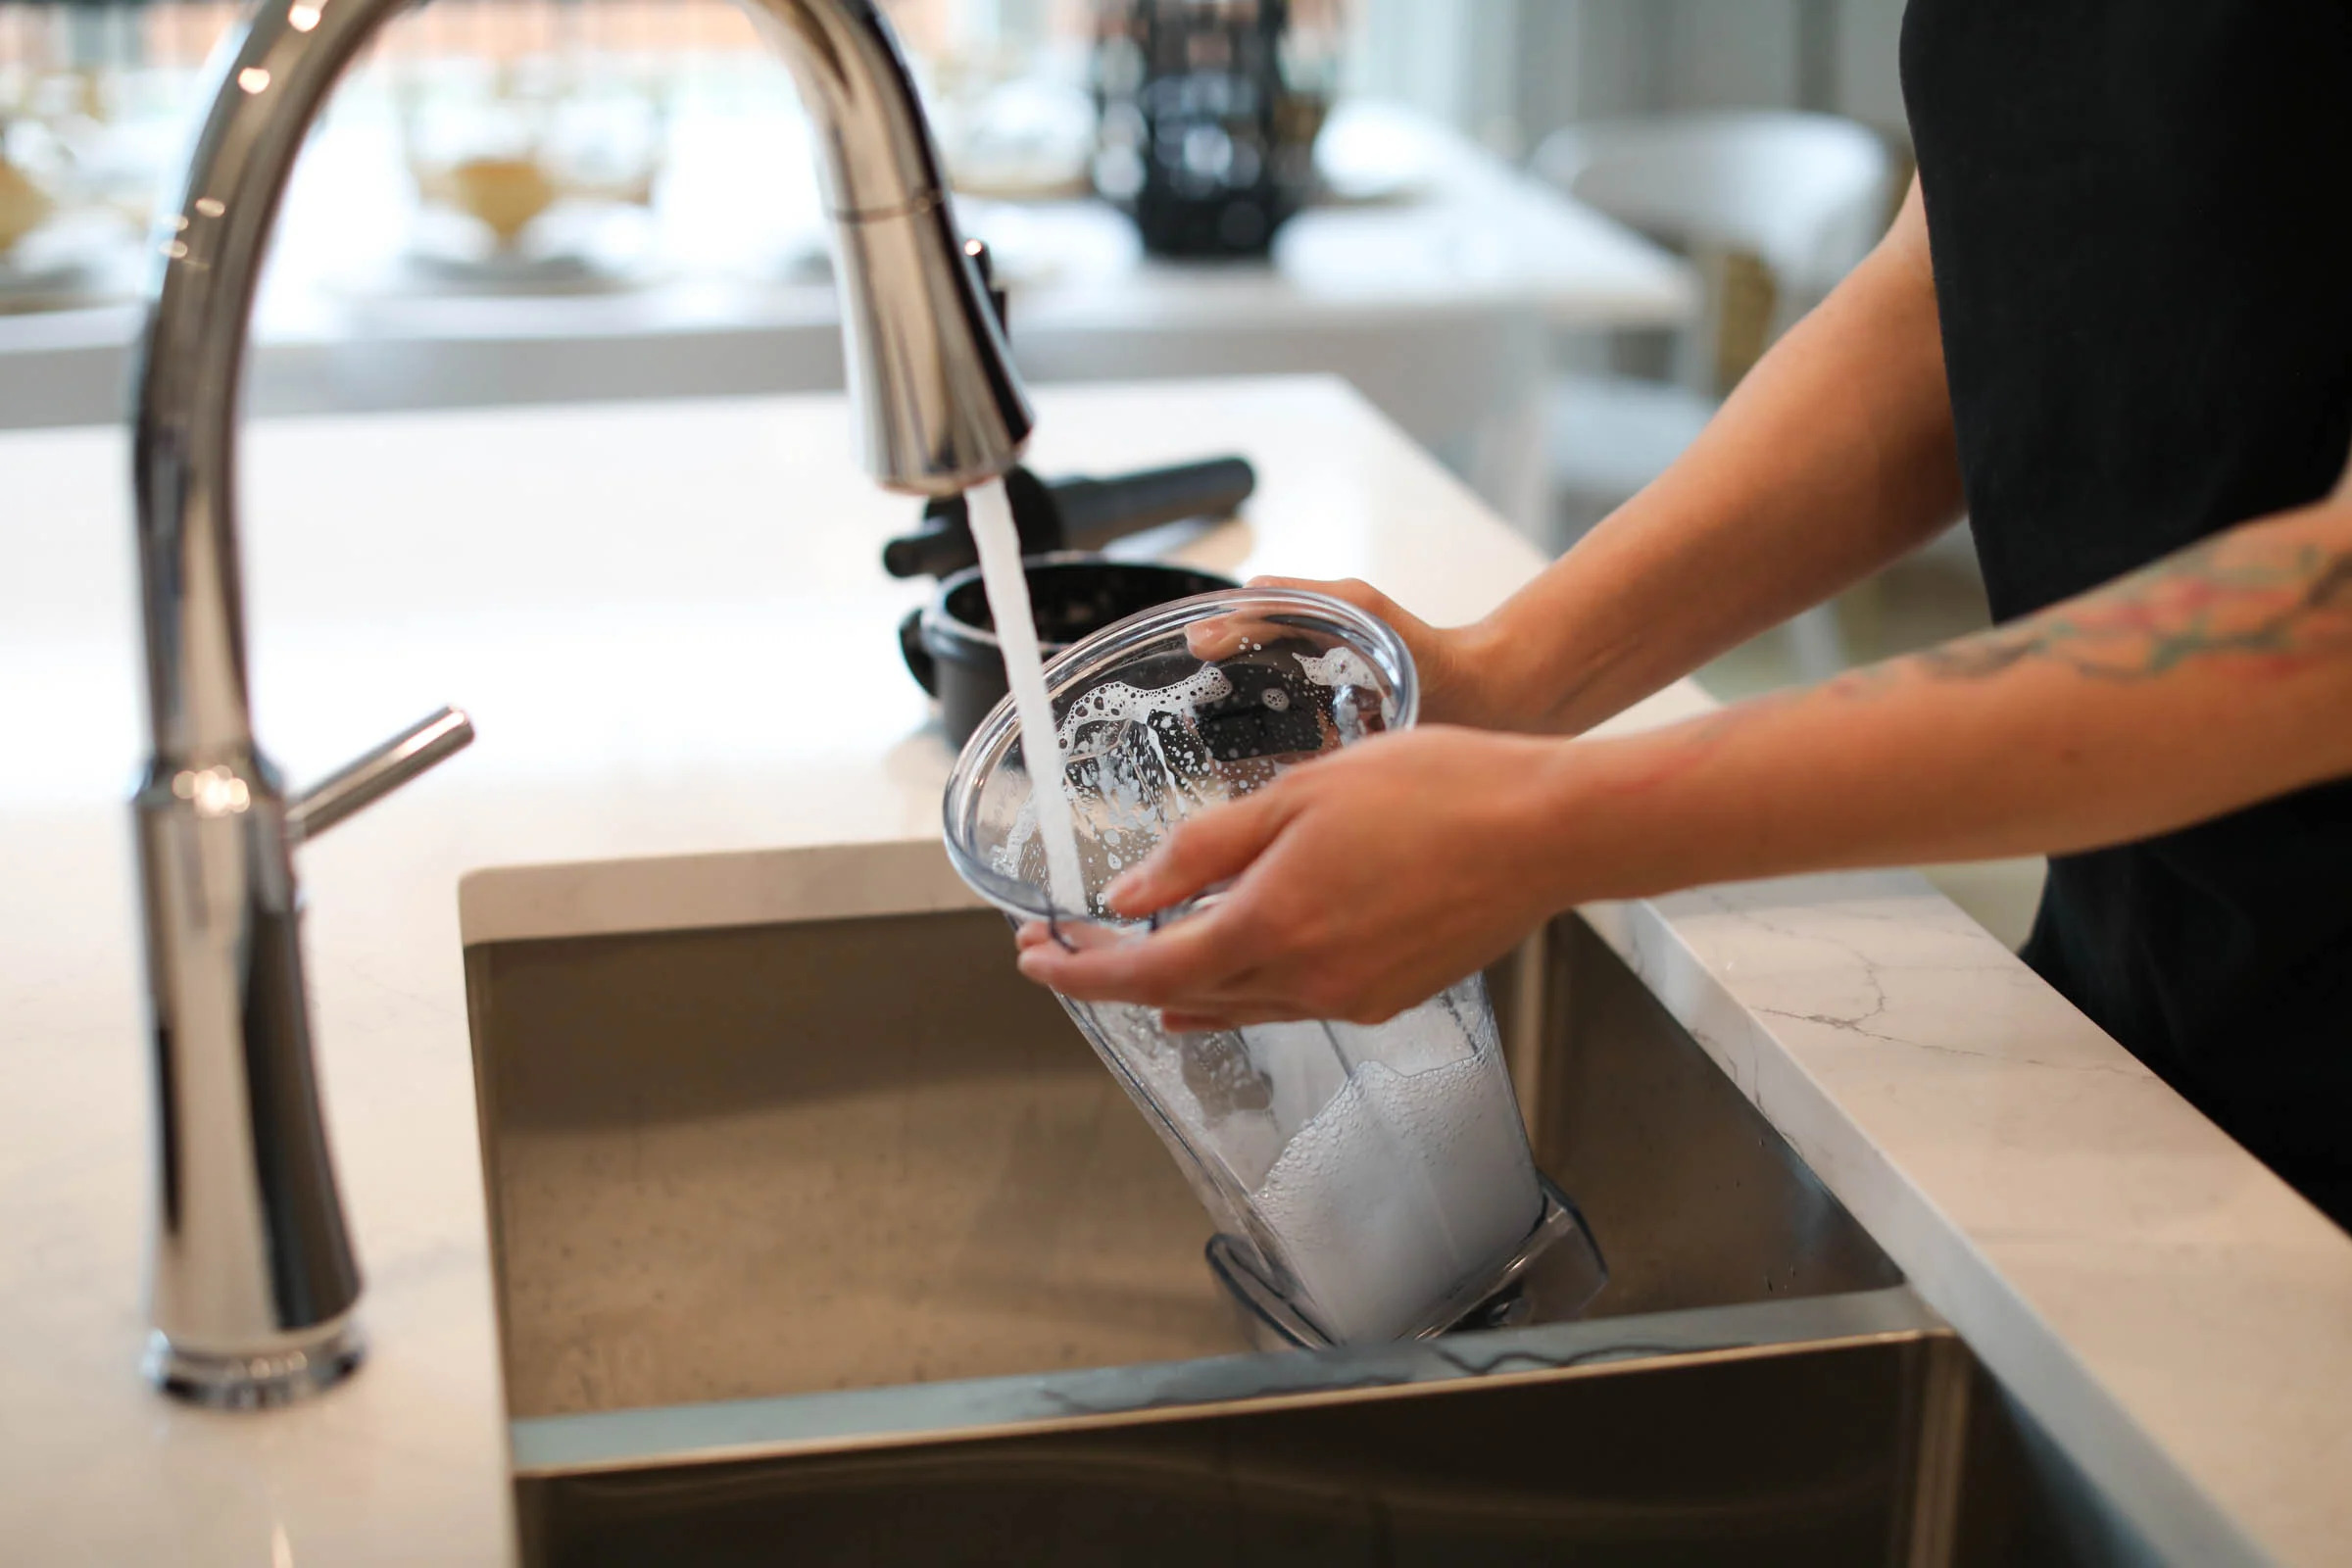
Step 1: After using, avoid letting the blender sit. Doing so will allow the contents to harden and become crusty. Instead, immediately rinse your container and lid with warm/hot water.
Step 2: Fill the blender halfway with warm water and a squeeze of Dawn® Dish Soap.
Step 3: Use your blender’s “pulse” setting to blend the soapy water until all of the contents have been washed off the sides and blade. (For immersion blenders (Canada) (USA), fill a small cup with Dawn® and warm water and do the same.)
Step 4: Rinse again and towel dry, using caution around the blades. (Towel drying will prevent your containers from becoming cloudy from mineral deposits. If your blender is cloudy, keep reading to the end.)

Stuck-On Food
If you clean your blender as you go, you won’t have to deal with stuck on food very often. But perhaps you just stumbled upon this blender cleaning guide for the first time and you’re trying to restore a nasty, crusty blender back to its glory days when it was first removed from the package. Don’t worry – all hope is not lost. You have options.
Step 1: For those blenders with hard, stuck-on food, we will begin by spraying Dawn® Powerwash Spray and letting it sit for 20-30 minutes. This helps to loosen everything and make scrubbing a breeze. You can repeat this step if needed, but this stuff is MAGIC!
Step 2: Next, remove the blender from its base and scrub the inside until all of the bits and pieces are gone. (We recommend a scrub brush to scrub the inside, as it’s not very easy, nor safe to stick your fingers where you can’t see them.)
Step 3: Rinse well, and blend with hot water again to make sure it is thoroughly cleaned out.
Step 4: Let the blender sit out to dry completely.
Step 5: For the base of the blender, start by unplugging it from the outlet. Next, we will use hot, soapy water and a microfiber cloth to wipe it down, including the middle with nooks and crannies. Remember, you only need a drop of dish soap! A little goes a long way.
Pro Tip: if you can’t fit your cloth or fingers in the tough-to-reach spots, use a dry scrub brush to scrub those spots. Then, you can squeeze your cloth in to wipe out any leftover residue and then wipe dry. Finally, use Windex or Weiman’s Stainless Steel to shine it up.

Cloudy Containers
If your container is cloudy after cleaning, you likely have a build-up of minerals from water. (It’s also possible that the fog is a result of blending up nutritious greens, which are full of vitamins and minerals.) To remove those deposits, we recommend following this simple process:
Step 1: Start by softening these mineral deposits with a good soak in vinegar. Fill your container with a mix of 50/50 water and vinegar and allow it to soak for a minimum of one hour. (If your blender is very cloudy, you may want to let it sit in this vinegar mixture overnight.)
Step 2: Next, pour out the mix, and make a paste with baking soda and a little bit of water. You can use a bit of paper towel or a soft scrub brush to scrub the baking soda mixture on the inside of your jug. (Warning: this may take some time and elbow grease if your container is very cloudy.)
Step 3: Once you’ve scrubbed all the white residue away, give your blender a good clean using dish soap and water, and towel dry. (Remember to towel dry from now on to prevent this build-up in the future.)
Congratulations! You now have your blender back in top working condition! Remember to keep up with it regularly, as it becomes much easier and faster when you do.
For a list of our favorite products, click here.


We're big on Instagram.
Follow @GoCleanCo for seriously satisfying videos and top-secret tips. Don’t be shy, come say hi.